
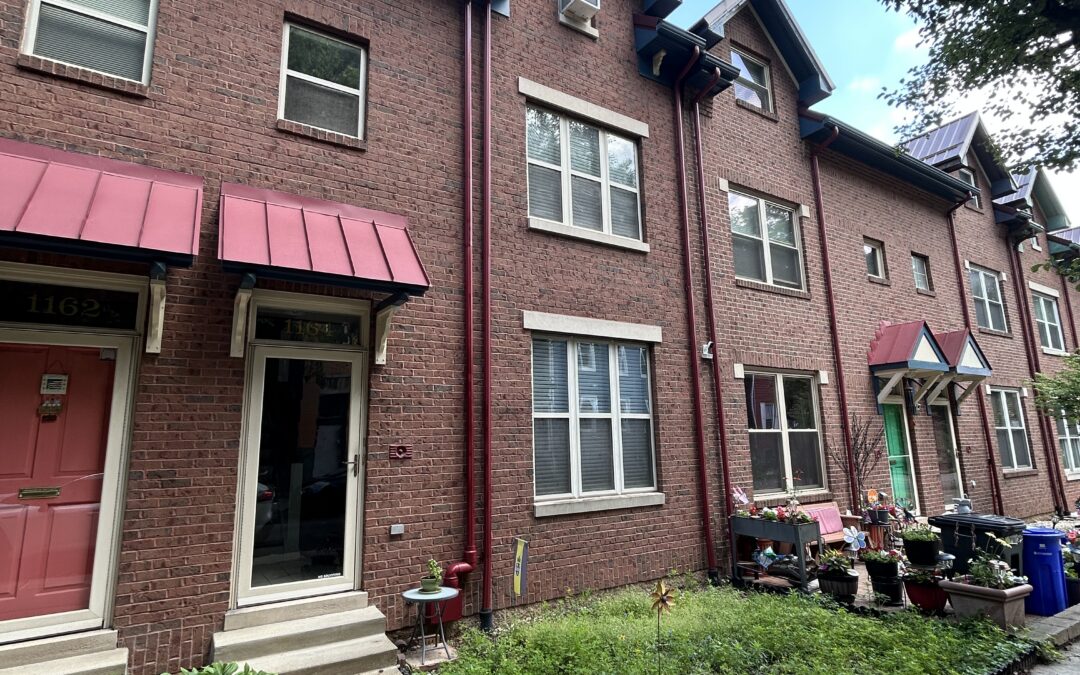
Karen Benner, a past participant in the LCMP and ROCIS partner at the Pittsburgh Gateways Corporation, shares her story about adding a radon mitigation system to her Pittsburgh home. Part 1 of Karen’s story tells how she and her husband made the decision to add a radon mitigation system to their home. Part 2 discusses the installation process and the result.
Deciding to Get a Radon Mitigation System
In the spring of 2023, I participated in a ROCIS Low Cost Monitoring Project cohort; the opportunity intrigued me both personally and professionally. My husband, Billy, and I had just purchased a new home in Pittsburgh’s Northside, and it seemed like a great time to learn how our indoor air quality might be impacted by the surrounding city, industry, and highways. My professional credentials in “sustainability” and “green building” and “healthy housing” also provided a keen interest in this cohort experience, aiming to learn how local contractors can help cohort participants execute home improvement projects that can enhance their health.
Participants in each LCMP cohort receive a loaner kit of monitoring devices that measure indoor and outdoor particles, CO (carbon monoxide), CO2 (carbon dioxide), radon, temperature, and humidity. Billy and I both learned a ton about how to improve our indoor air quality, but for the sake of this article I’m only talking about the topic of radon.
Despite having “passed” a radon test just months before during the sales transaction and home inspection process, we learned quickly through the LCMP that we had elevated radon levels in our basement—not as high as many folks in our region, but high enough to be concerned.
A primary reason for our concern was that Billy makes a living in a home-based pottery studio, which is located—you guessed it—in our basement. So, in the spirit of “control what we can,” we decided to have a mitigation system installed. As the household member with over 20 years’ experience in construction management, that household responsibility became mine.
And that’s when the fun began.
Design Details & Challenges
The most common radon mitigation system installed in existing homes consists of a network of pipes in the basement/crawl space. This system starts with a pipe that penetrates the floor and pulls air from underneath the slab; this pipe then connects to other pipes that exit the home through an exterior wall and continue up the side of the house and extend above nearby windows/doors.

Source: swat-radon.com
While many homes have four exterior walls available for the discharge pipes to exit through, our urban Pittsburgh home is an attached row home, leaving us with half the options to work with for our system’s design.
Our rear elevation has a full-width wood-framed deck with a metal roof. Running the exterior pipe through that structure would neither be aesthetically pleasing nor cost-effective.
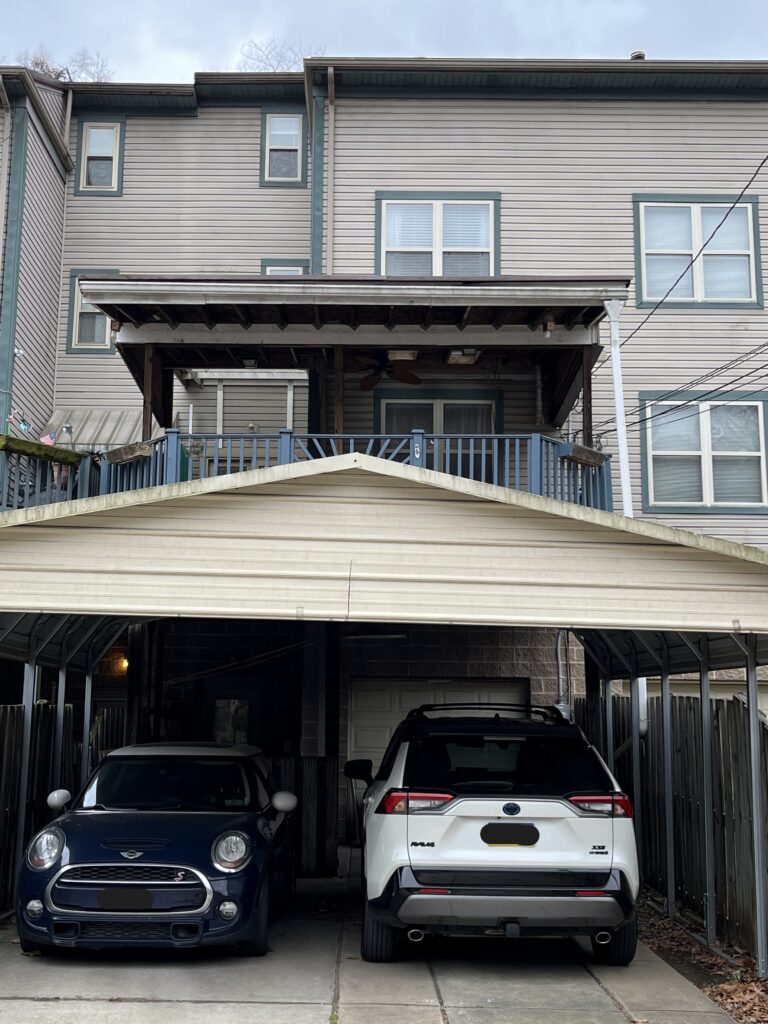
Rear elevation of Karen’s home, showing full-width deck and metal roof
That meant we were down to one exterior wall: our front elevation. Not the place you typically want to install a big white pipe and fan that is common for these systems. Additionally, our front façade is complicated with a large dormer and deep soffits.
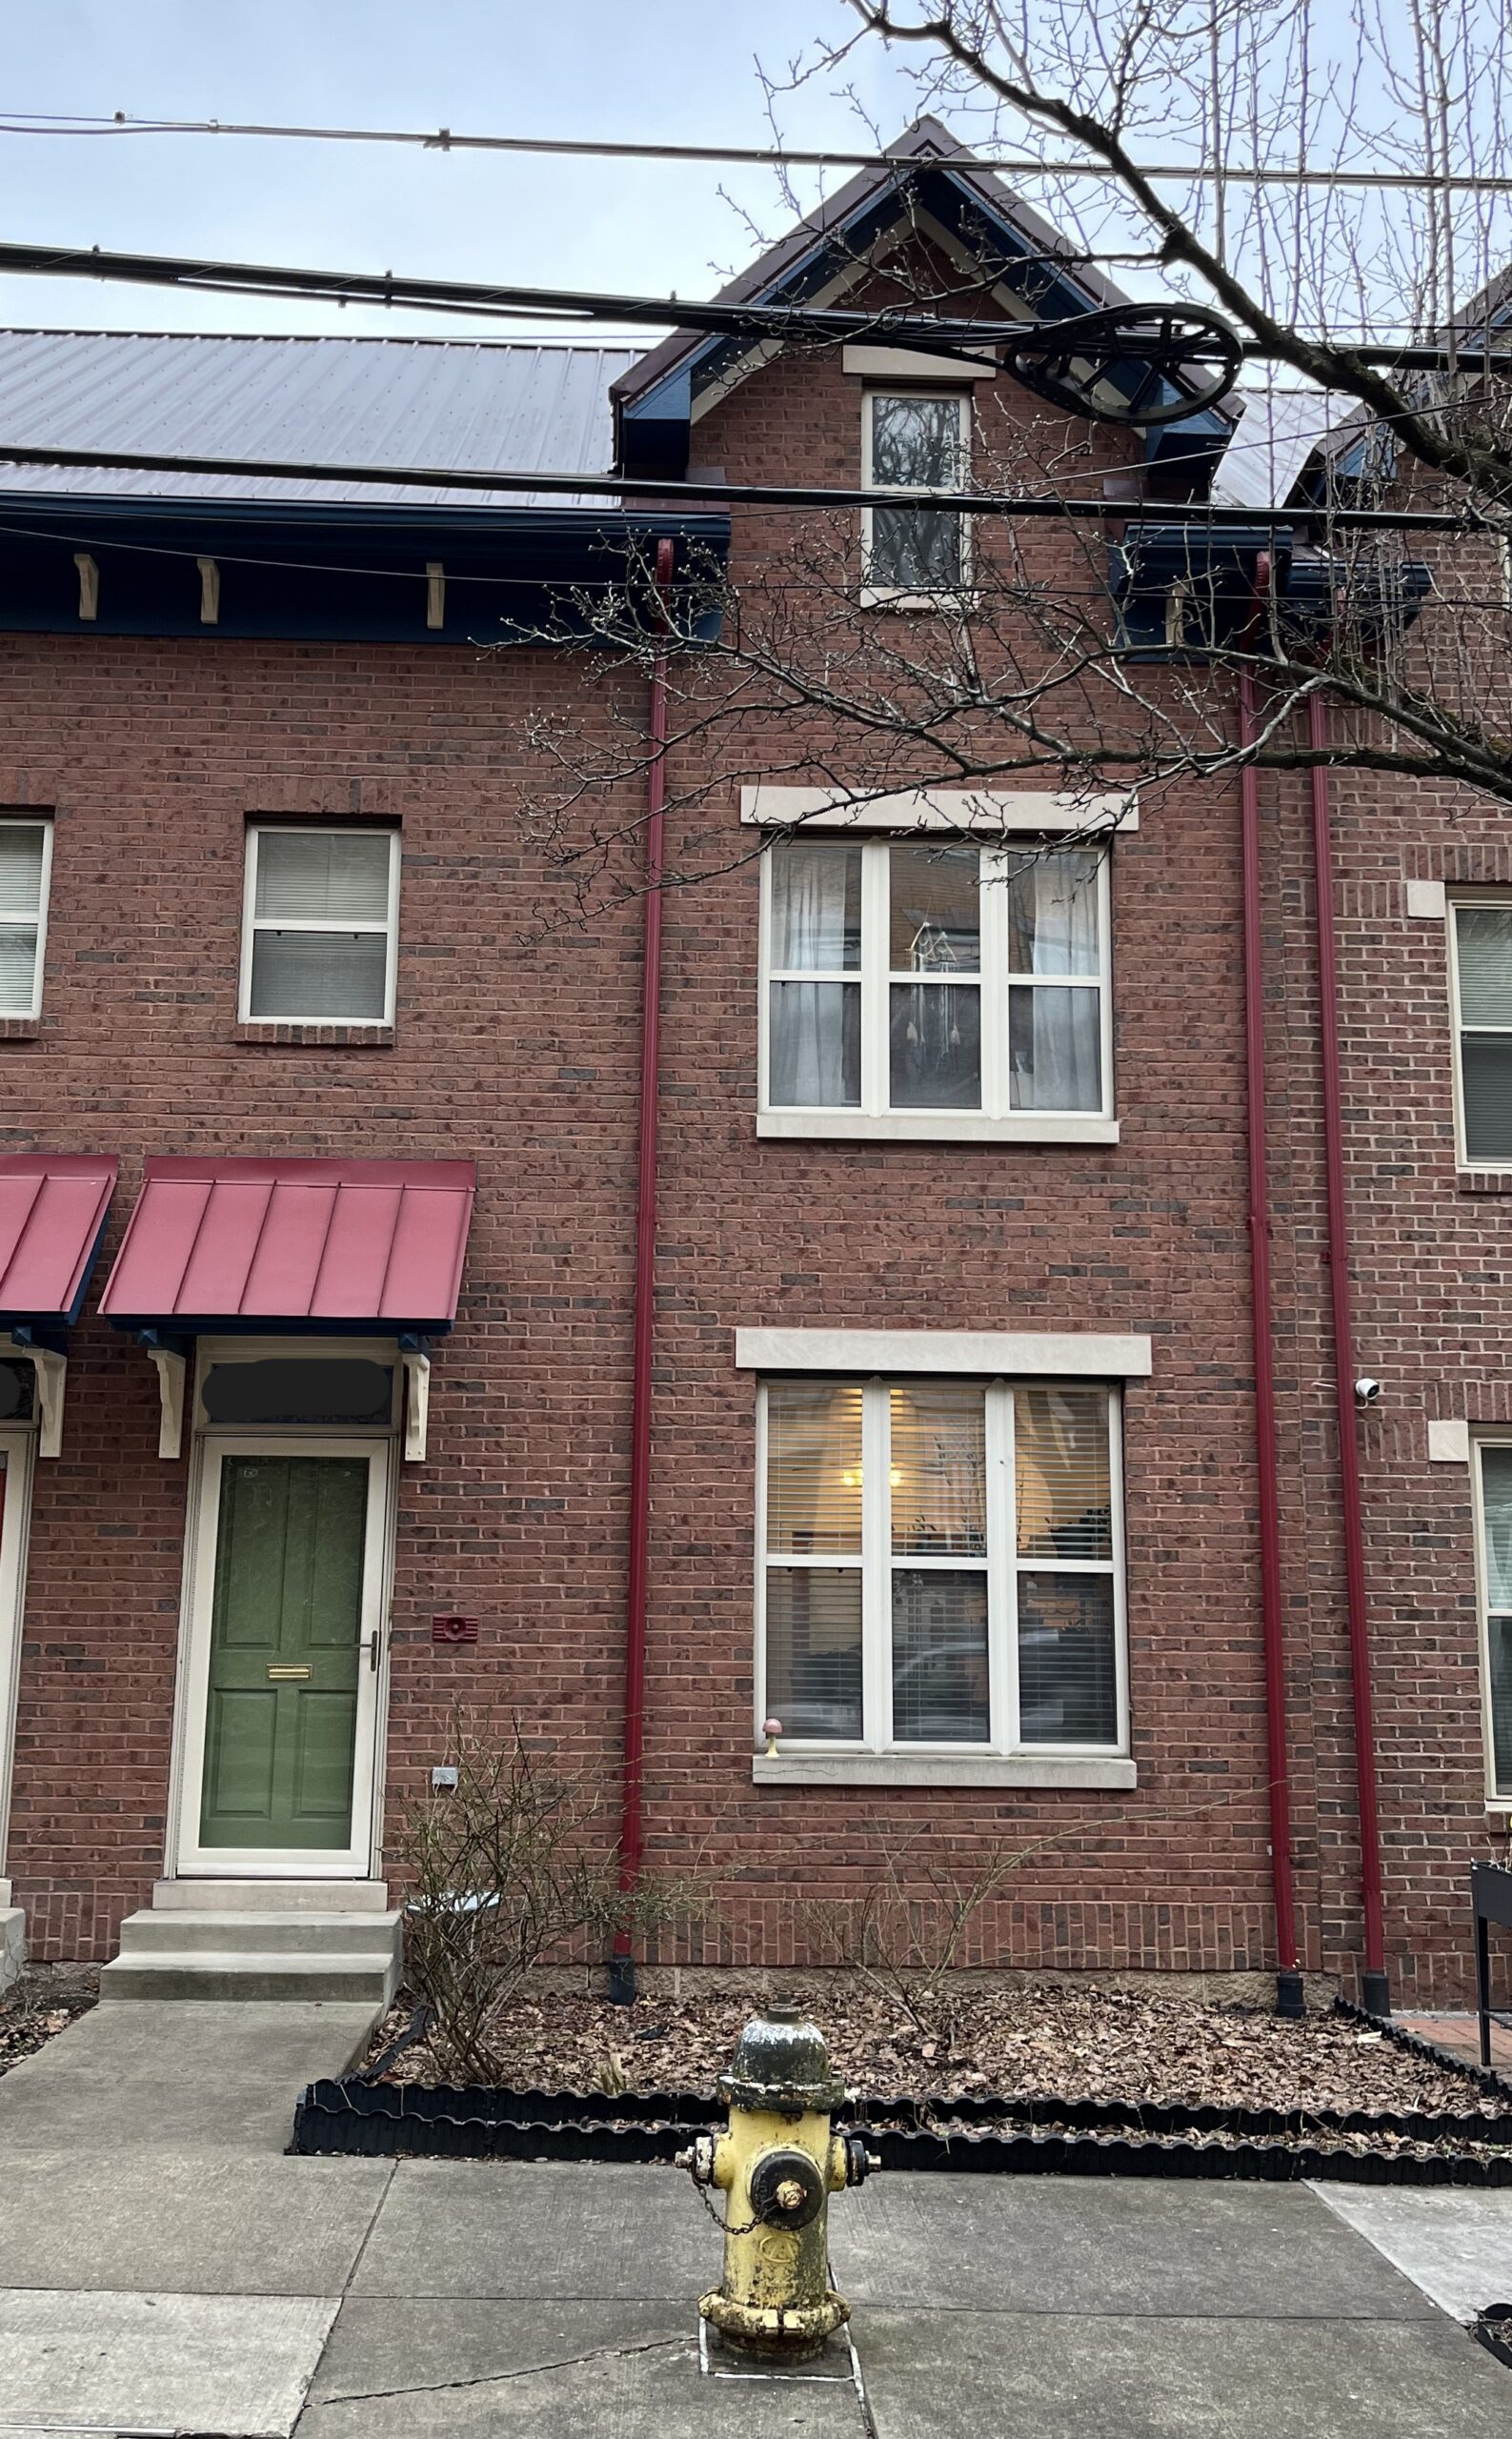
Front elevation of Karen’s home showing dormer and deep soffits

Typical radon mitigation system
Clearly, it would be a challenge communicating all this to a radon mitigation contractor.
Almost every radon mitigation company has an online form to request an estimate. In addition to asking for your address and radon levels and other basic information, they ask for photos and details about your home’s construction to help them determine if they need to make a site visit before providing an estimate. I knew that we would need a site visit, and I knew that finding a contractor who would be willing to discuss how to circumvent these physical obstacles while keeping aesthetics in mind would be important.
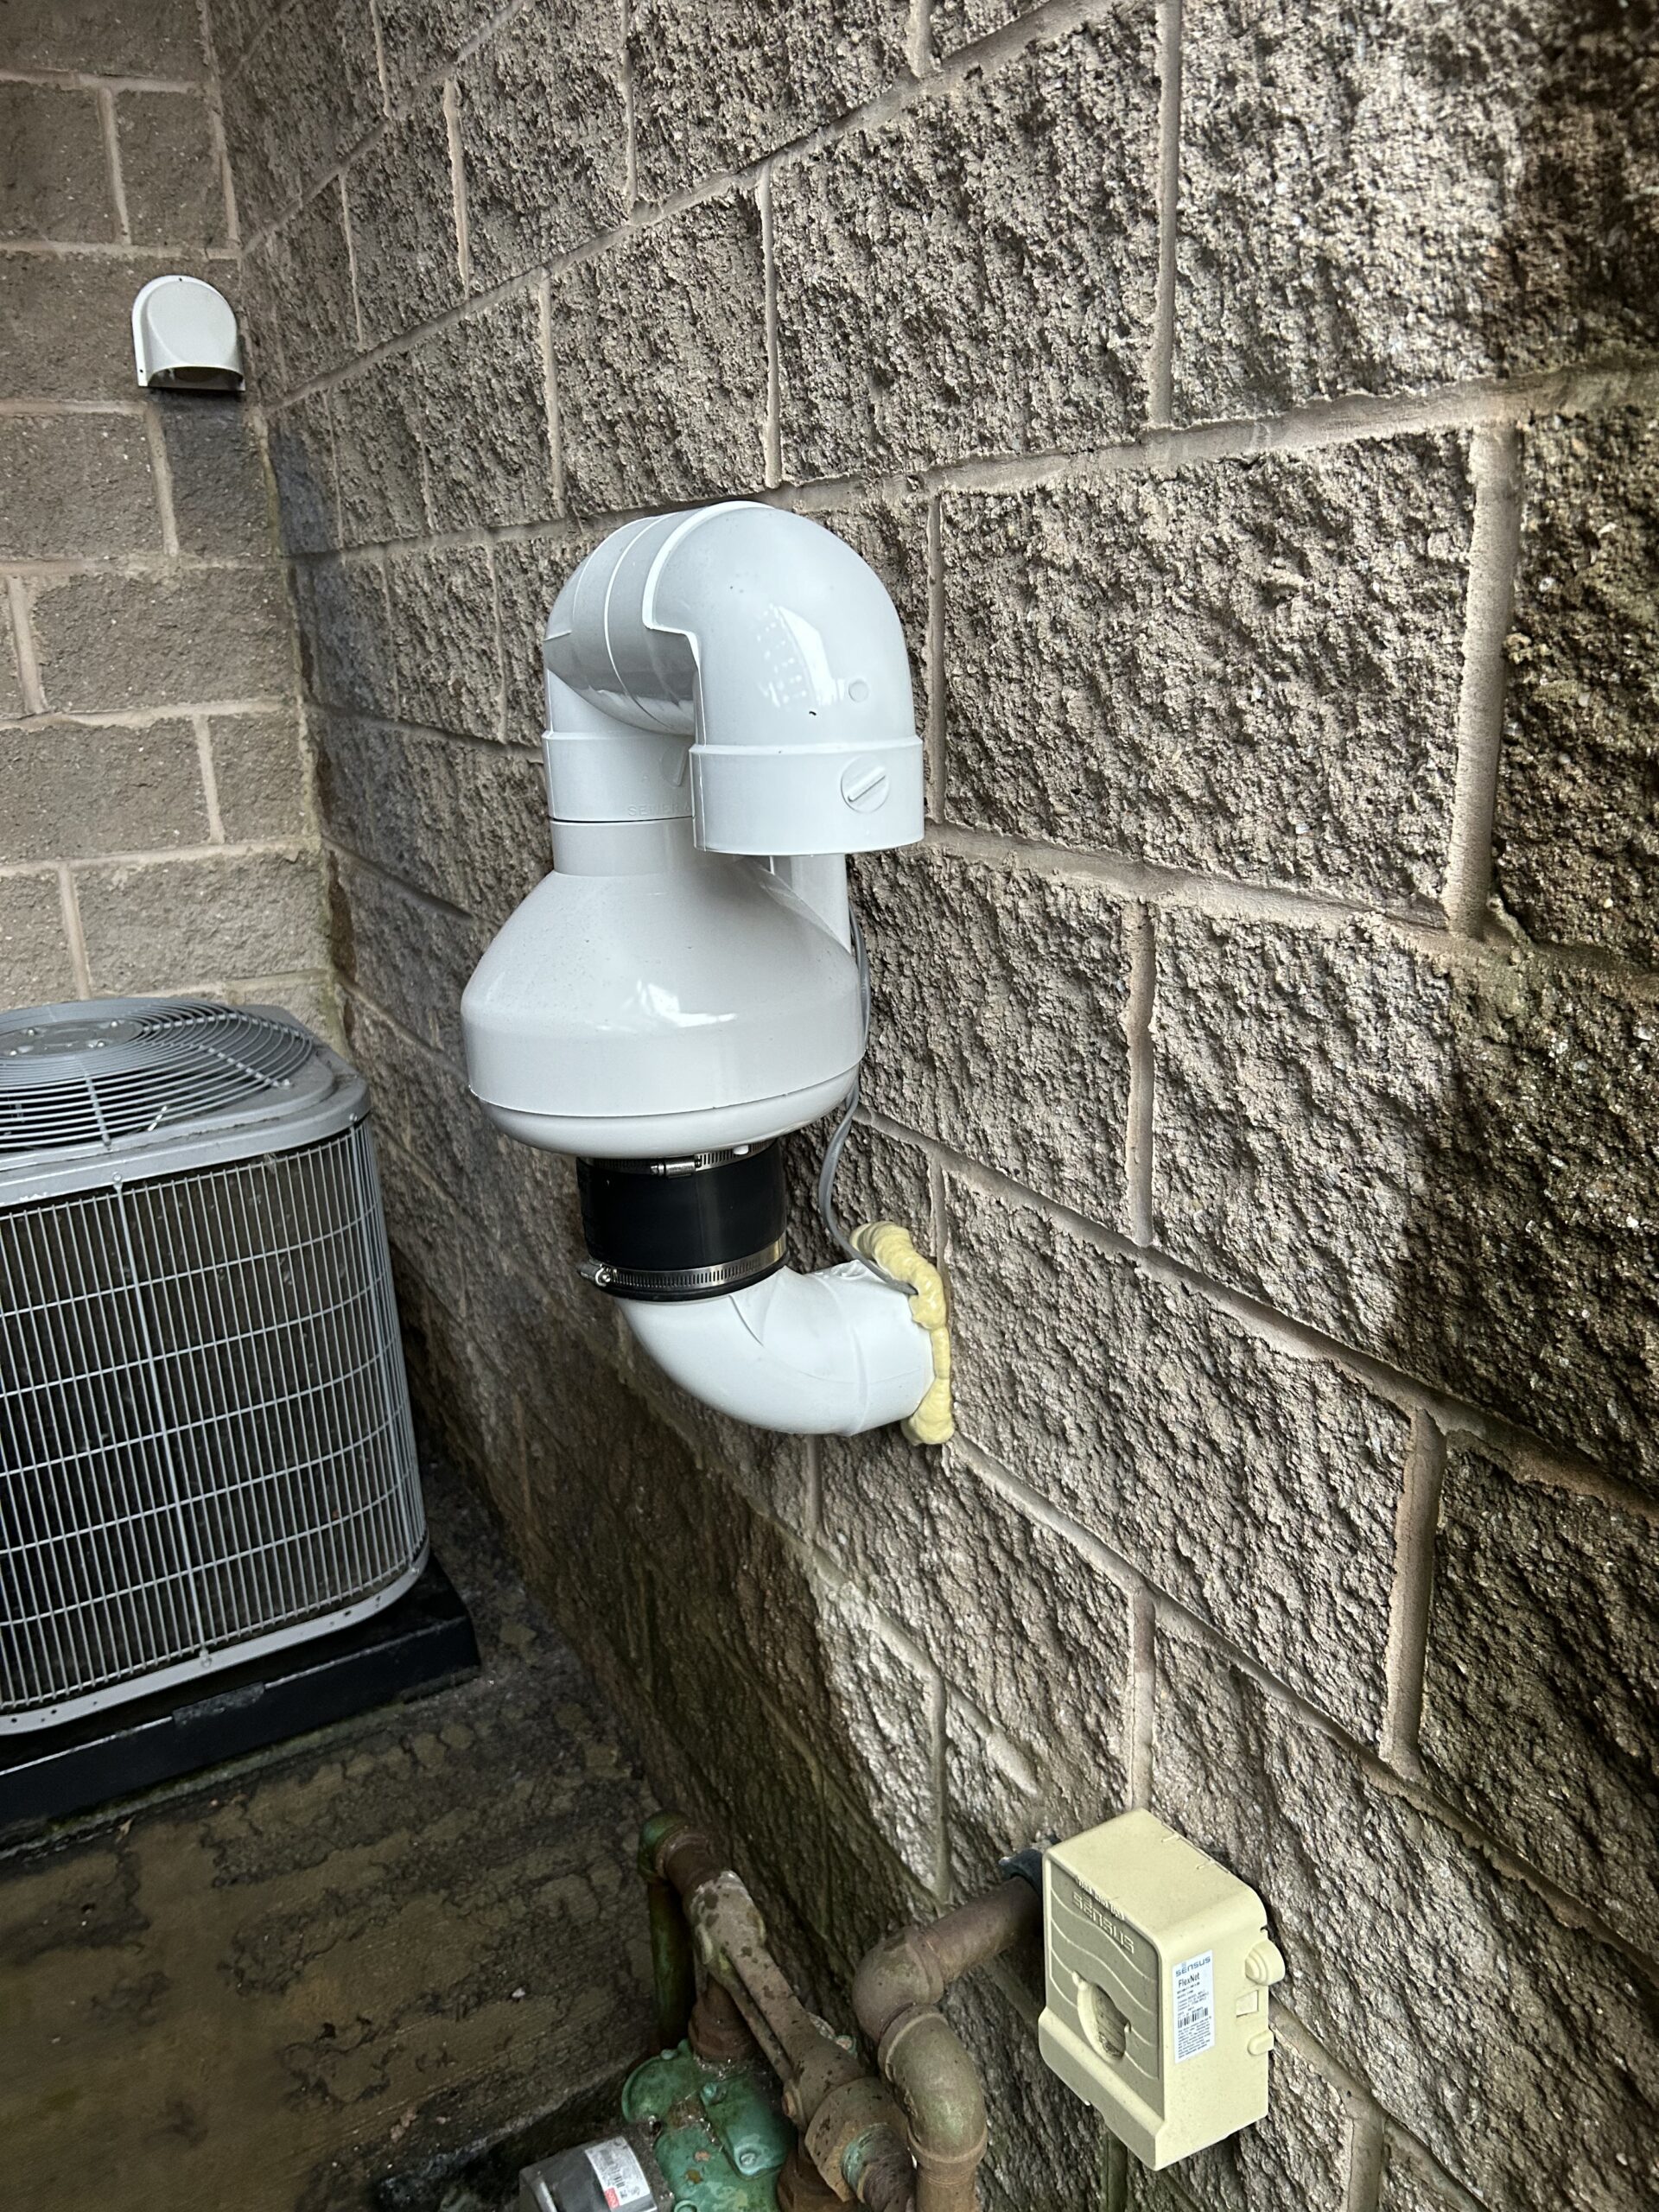
Photo: neighbor’s radon fan & termination at-grade (not recommended)
Soliciting Proposals
In the fall of 2023, we started soliciting proposals. I was fortunate to have trusted contacts to make referrals for certified radon mitigation contractors in SWPA.
The first company I contacted online responded right away that they would need to come make a site visit, as expected. They sent a crew leader who was very knowledgeable, clearly an experienced problem-solver, and also a good communicator; he provided a few options for how they could install an effective system, and I was excited to get a detailed quote to make a decision and move forward. Two-weeks later, when I inquired about a proposal, the owner emailed me back to say that he was closing the business because he “couldn’t find/keep good help.”
The next company I contacted online was Radon X, LLC. I got an email within hours that started with: “Thank you for the estimate request. I have reviewed images of the home online and it looks like this particular property could be a bit tricky to install a system!” The owner-operator, Jon Shaffer, came to our home that same evening and he spent a lot of time with us talking through our options. After concluding that the most cost-effective way to install an approved mitigation system was on the front of our house, he then took the time to discuss options to help it be more aesthetically pleasing—including the use of color-matching downspouts instead of the typical white PVC pipes and either painting the fan or using a more attractive style of fan.
Jon emailed a quote the very next day. This was the end of November. I replied that we’d move forward “after the busy holiday season.” Then I abandoned the project for a year…