
Pause & Focus Group
Life happens. Installing a radon system isn’t very sexy or exciting, and there were other priorities demanding our time and money in 2024. High radon just didn’t feel like an urgent problem to fix. We did, however, invest in our own indoor air quality monitors that year. Airthings was offering a really great deal on their WAVE Plus monitors, and we placed one in the basement and one in the dining room. We fired them up on June 20, 2024.
As soon as we did, there was no longer an “out of sight, out of mind” radon problem in our home—we knew that Billy was routinely spending time in our basement with radon levels that sometimes approached 6.0 pCi/L, which caught our attention because the annual average is recommended to be below 4.0 pCi/L by the EPA, and below 2.7 pCi/L by the WHO.
- EPA Radon Action Level
- From the Kansas State University’s National Radon Program Services: “The EPA states that 4 pCi/L is a recommended action level, yet homeowners can further reduce their potential lung cancer risk by mitigating homes that are below 4 pCi/L. . . . Any radon exposure carries some risk; no level of radon exposure is always safe.”
Through this renewed engagement with ROCIS and the discovery of how many other people were struggling to find a good radon mitigation contractor, I became motivated again.
In January 2025 I picked this project back up, and my first call was to Jon at Radon-X to ask for an updated proposal (a year later). He again replied immediately and continued to be an excellent communicator and very responsive. In my gut, I was ready to hire Radon-X, but all of my construction management experience trained me to always get competitive bids, so I started the online inquiry process with another well-respected company that same day.
The next company I contacted had a pretty large staff, so I was surprised to get a call from the owner-operator after my online inquiry. He also recognized that we had a unique design situation—i.e., accommodating an approved mitigation system that wasn’t an eyesore—and asked for additional photos, which I texted that same day. After several weeks without an update, I followed up and was asked to send the photos again. I had another lengthy, overly technical phone call with the owner in which it actually felt like he was talking me out of a system based on our relatively low numbers compared to many others in this region. This surprised and alarmed me. Ultimately, I never received a proposal from or any follow-up calls from this third contractor after that.
At this point, it had been about 18 months since my first contact with Jon at Radon-X, and when I reached out to say I was finally ready to move forward, he was just as helpful, just as patient as ever. He confirmed how our system would be installed, what it would look like, and how he would guarantee the results.
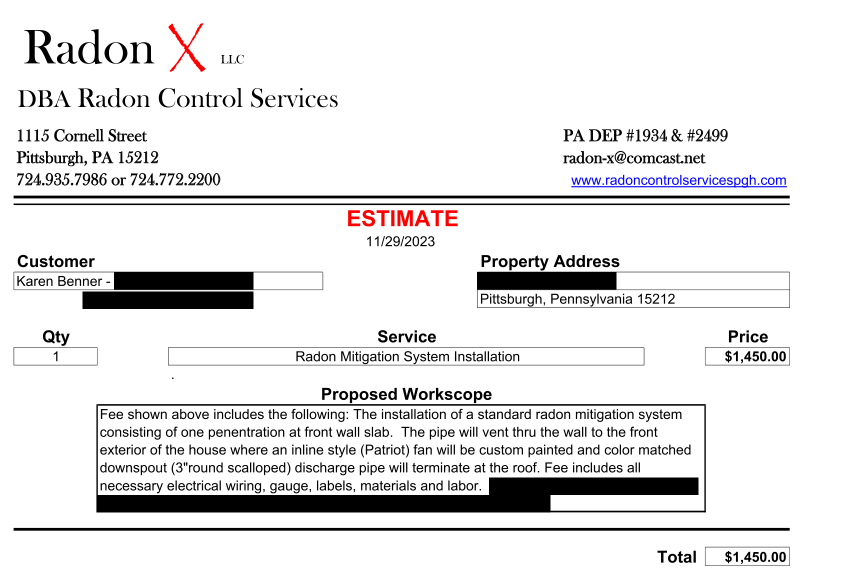
Copy of original proposal dated 11/29/2023, finally approved in the spring of 2025
I agreed to the proposal and scheduled the work!
The Work & Results
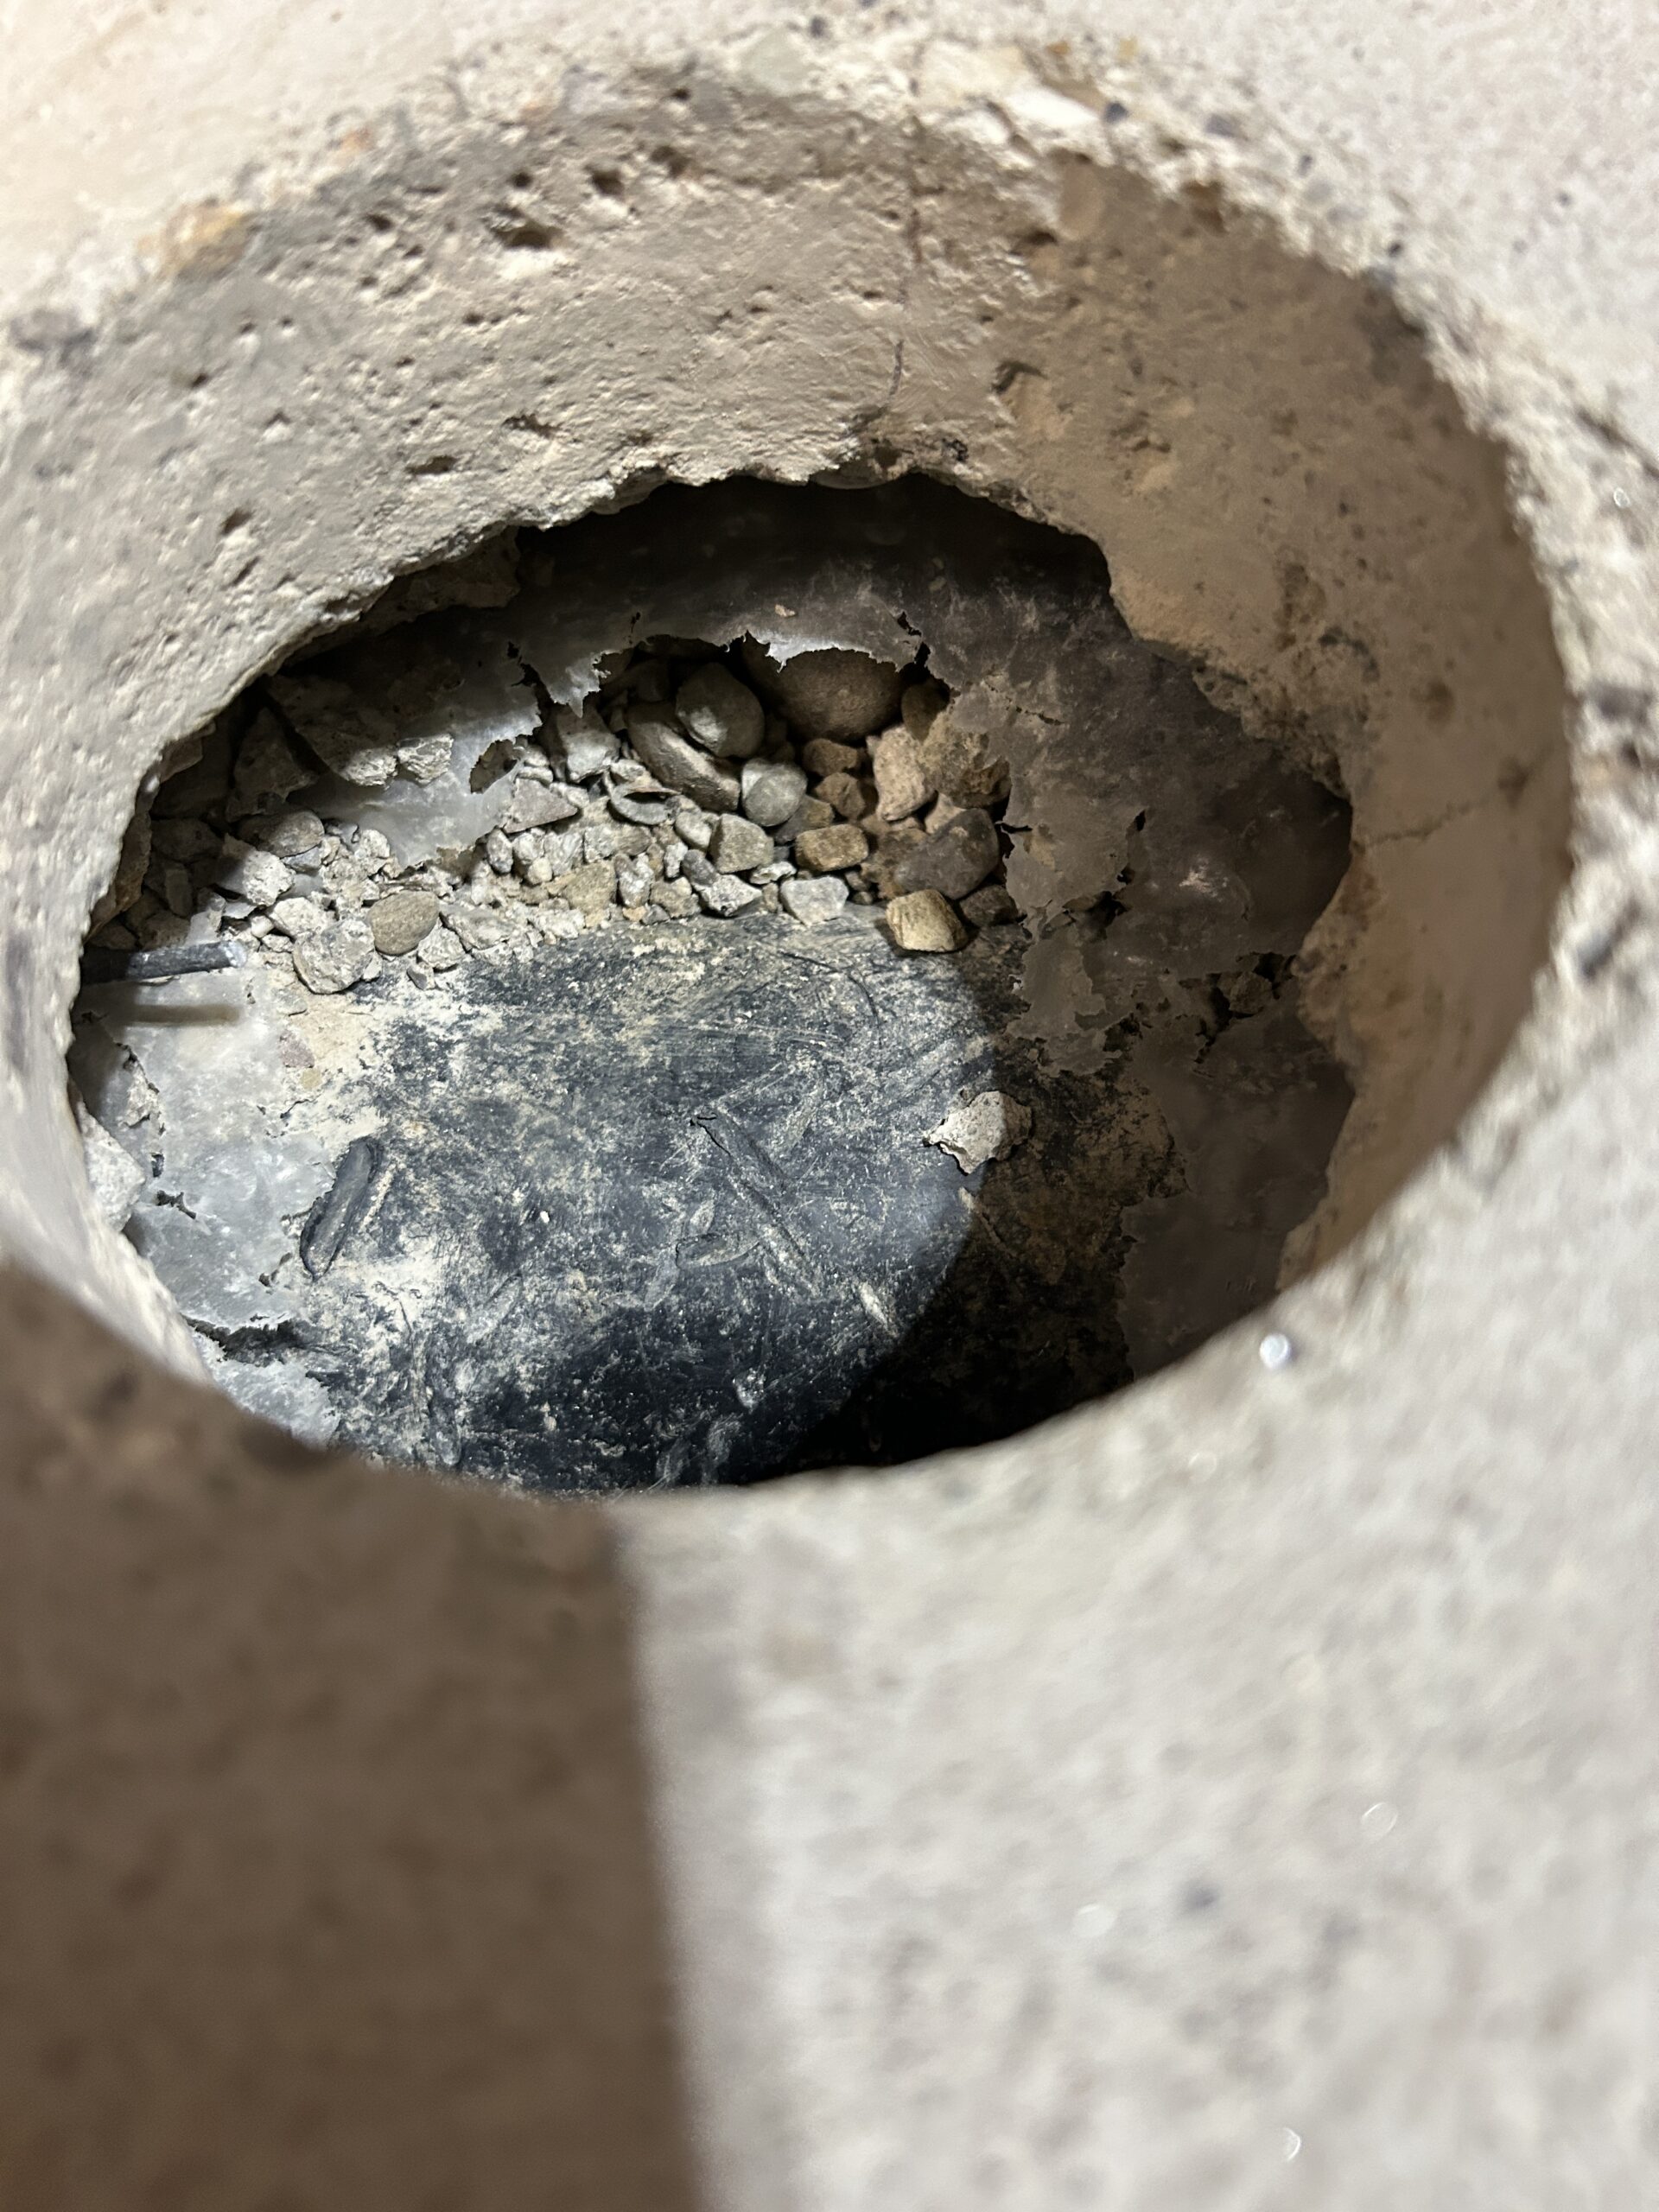
On June 2, 2025, Jon and his helper began the project. They arrived at 10:00 a.m. and almost immediately got to work. They first core-drilled through our basement slab to expose aggregate and ensure a pocket existed for the air/radon to get into the 4” PVC pipe.
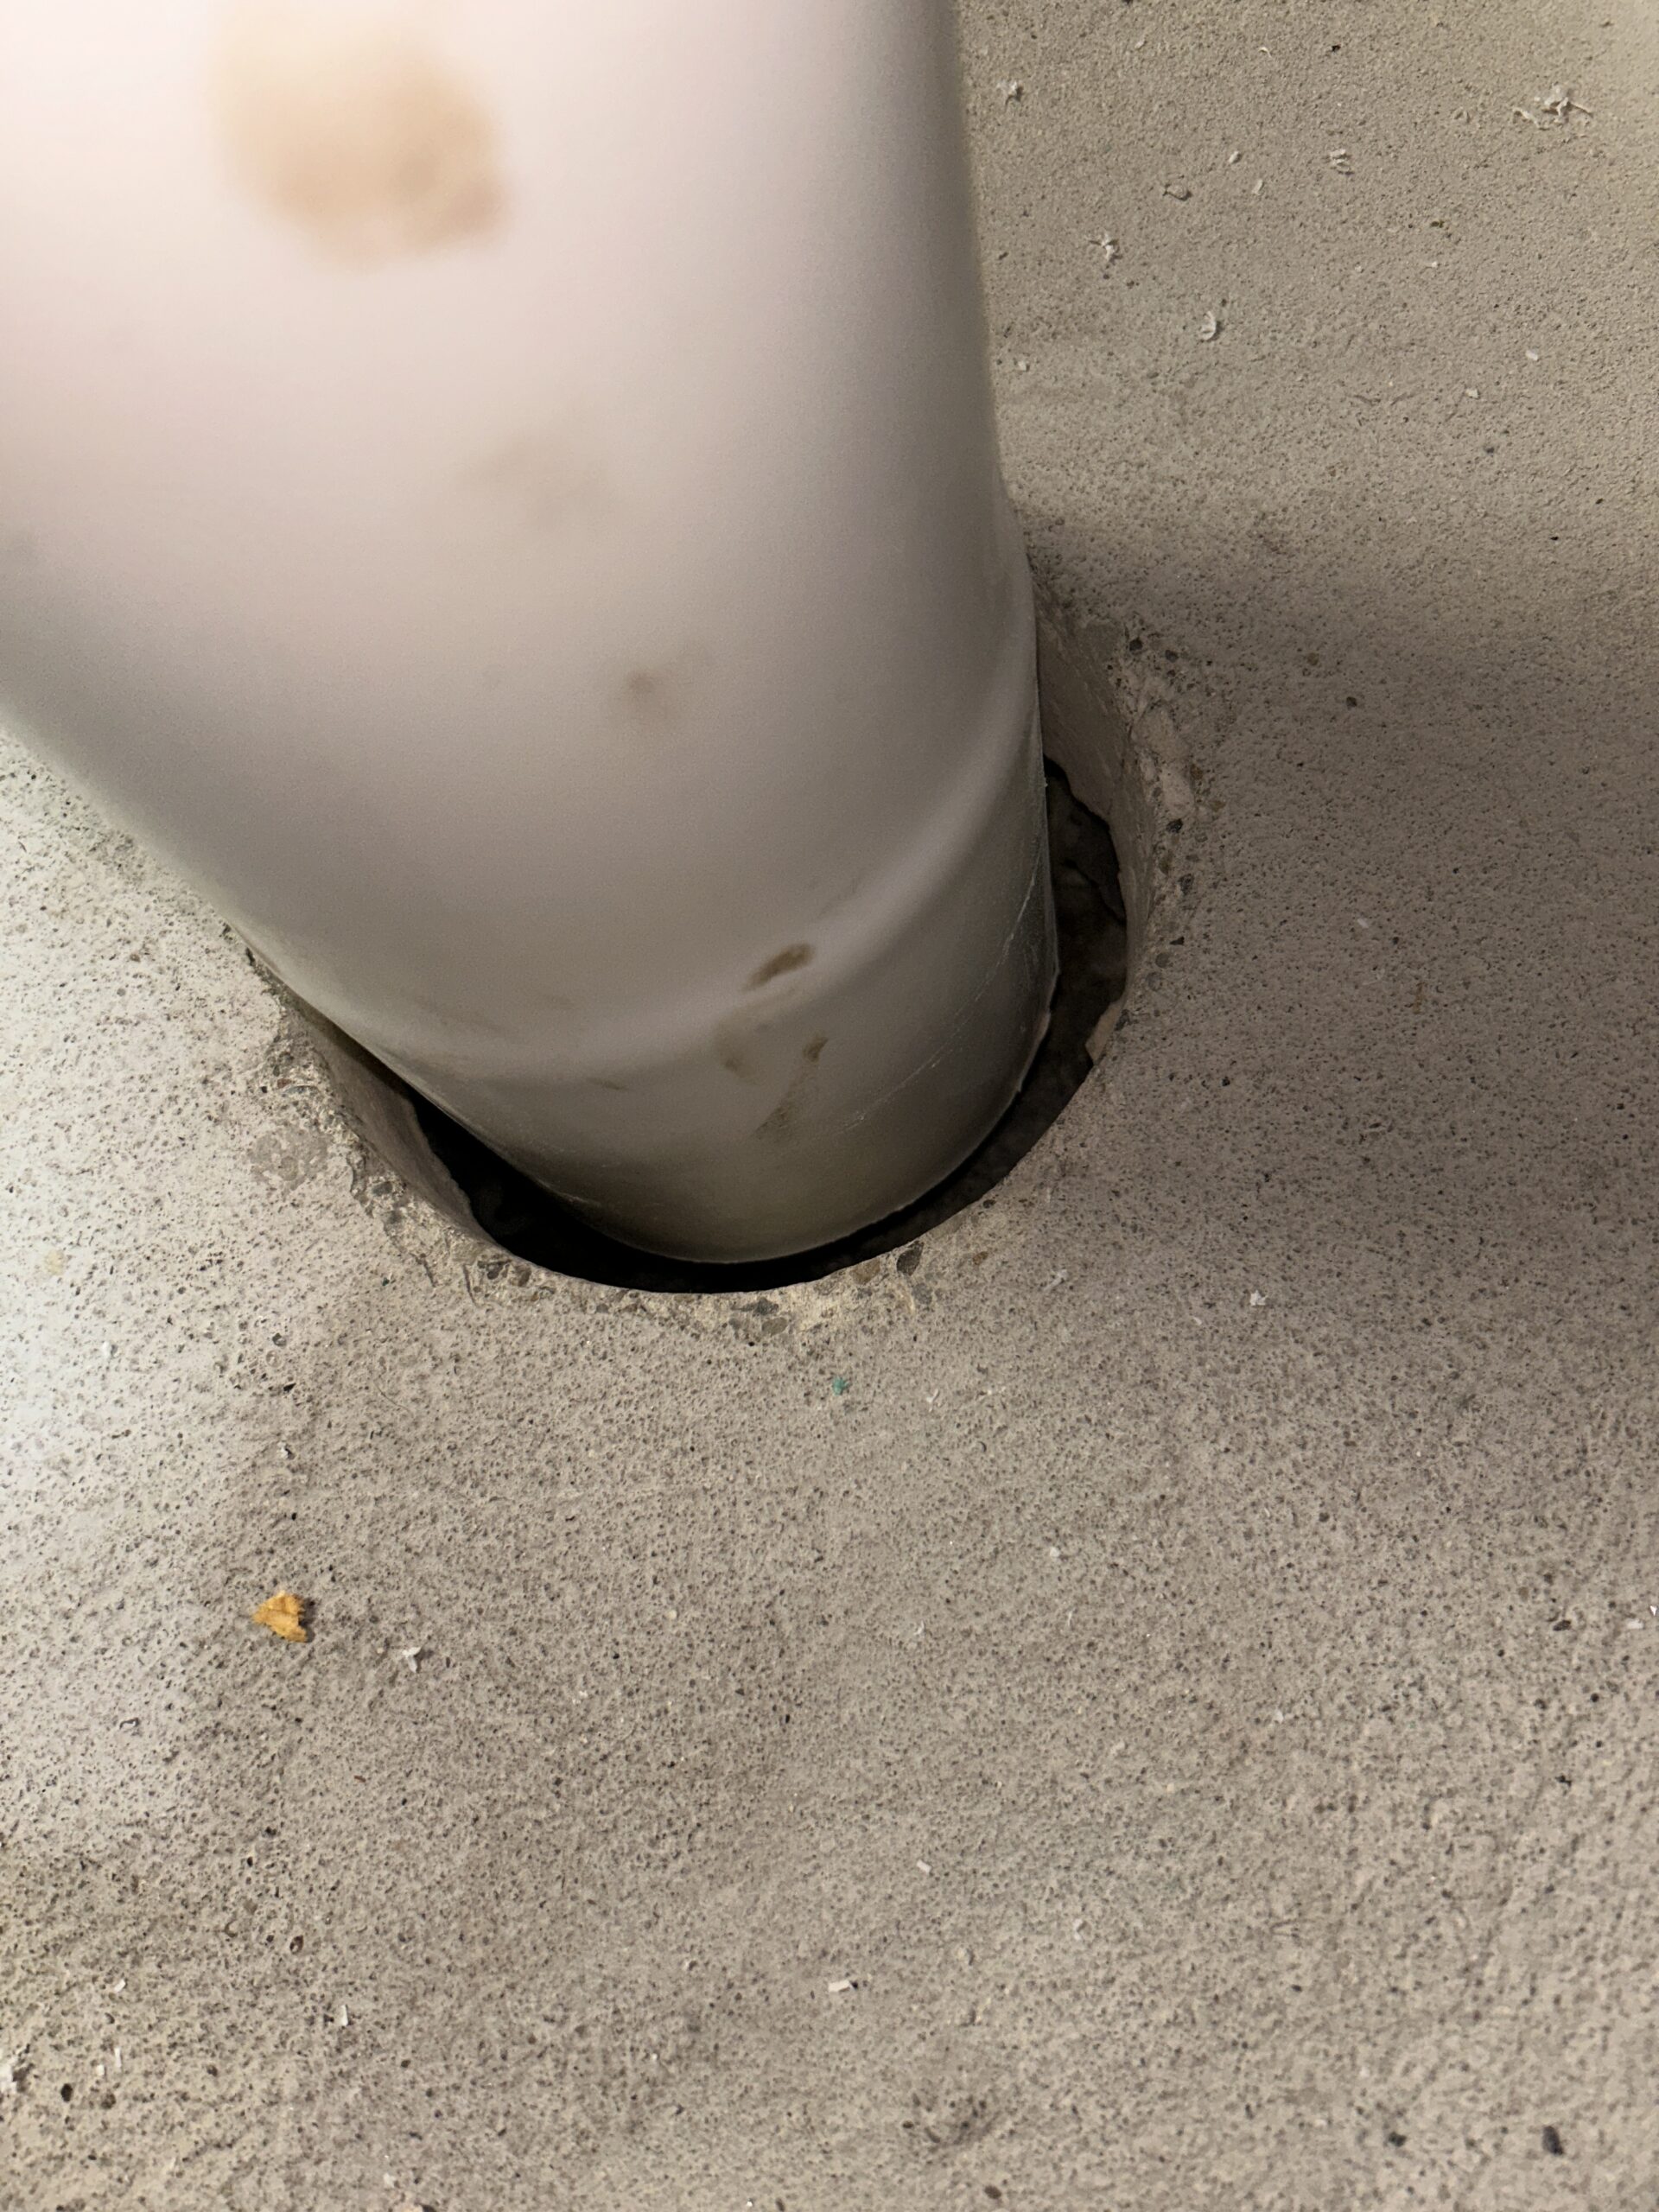
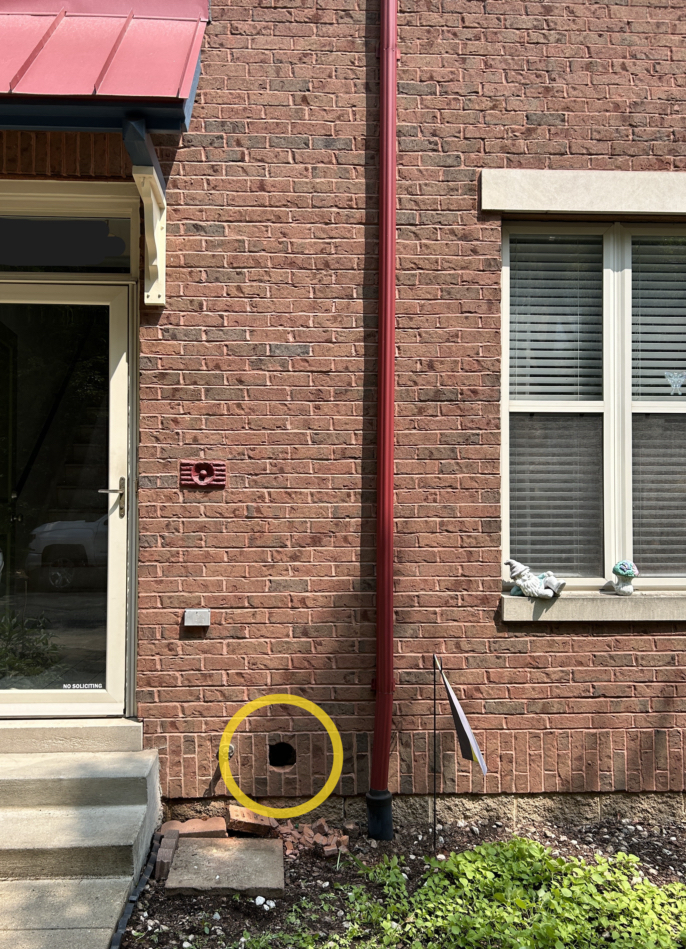
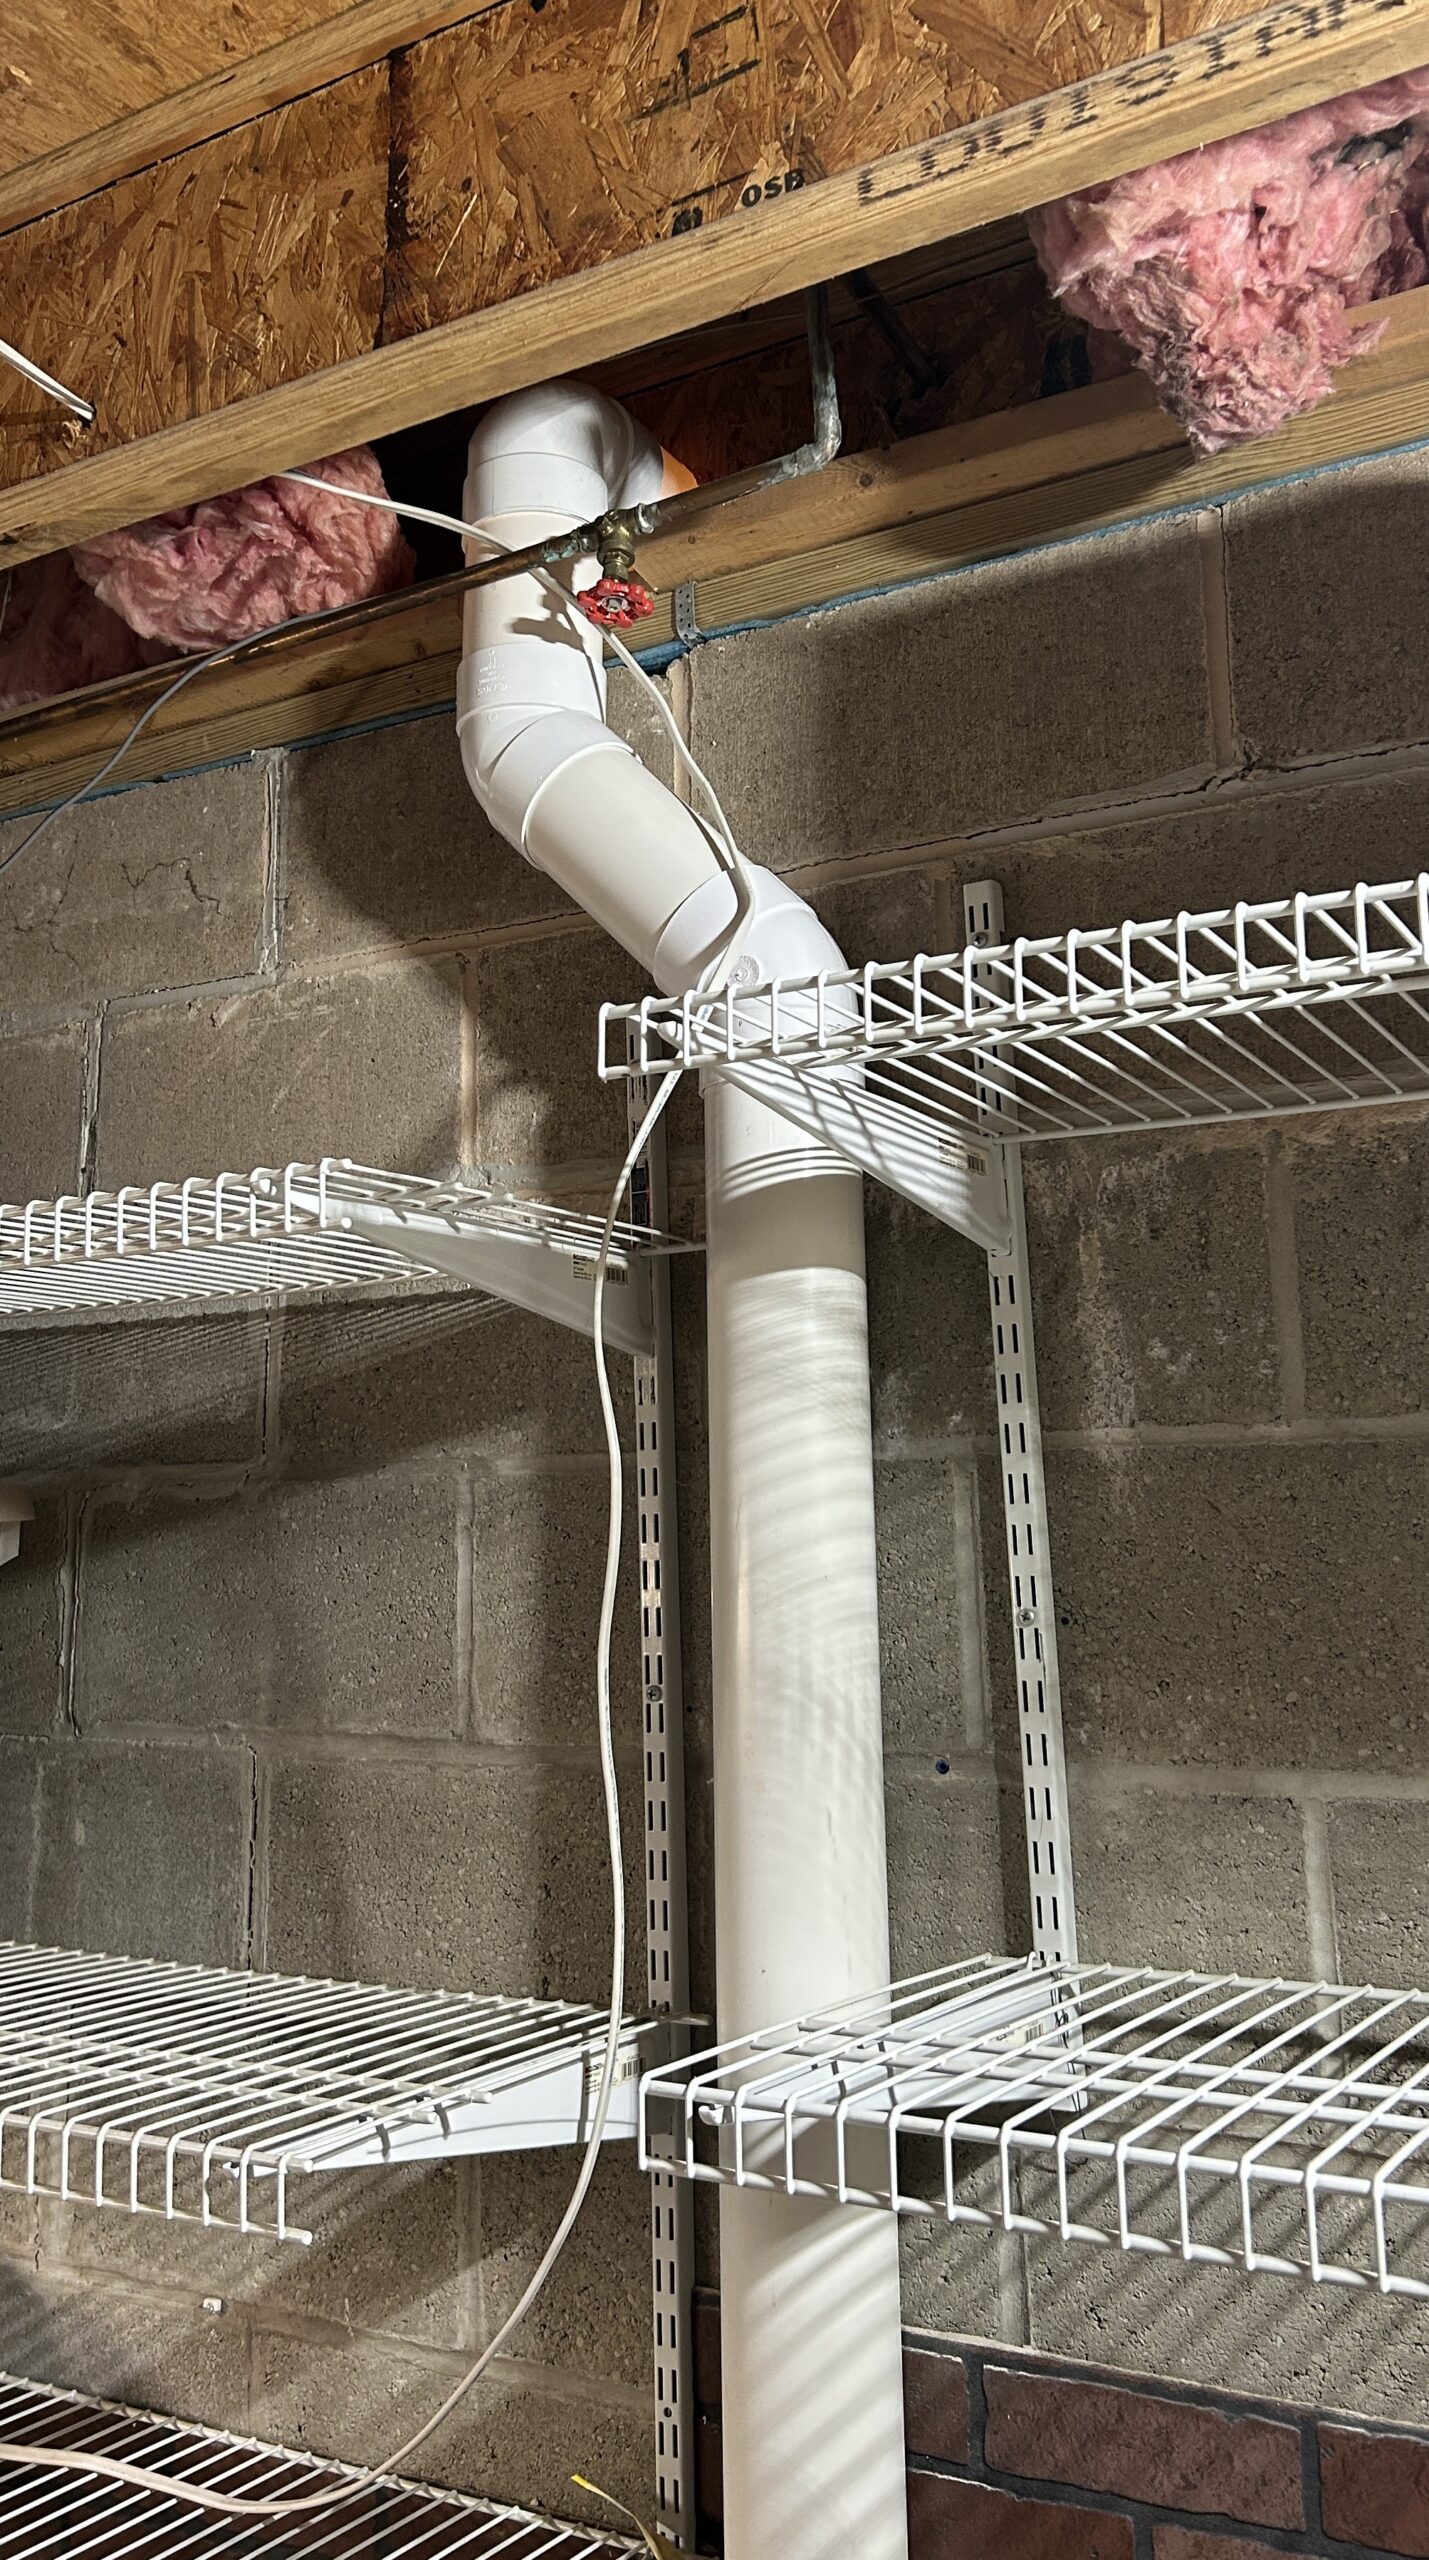
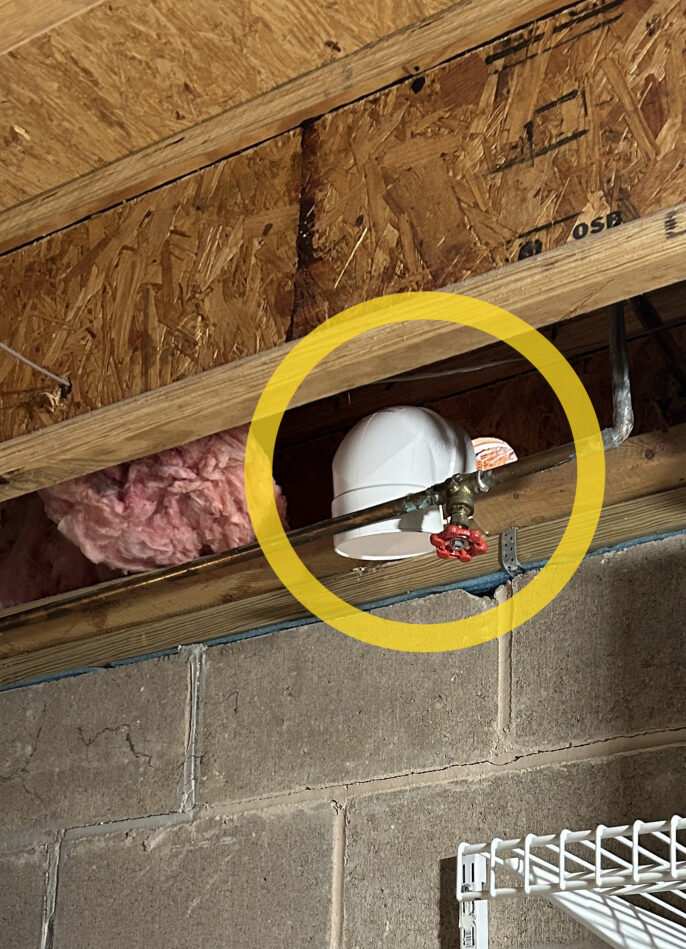
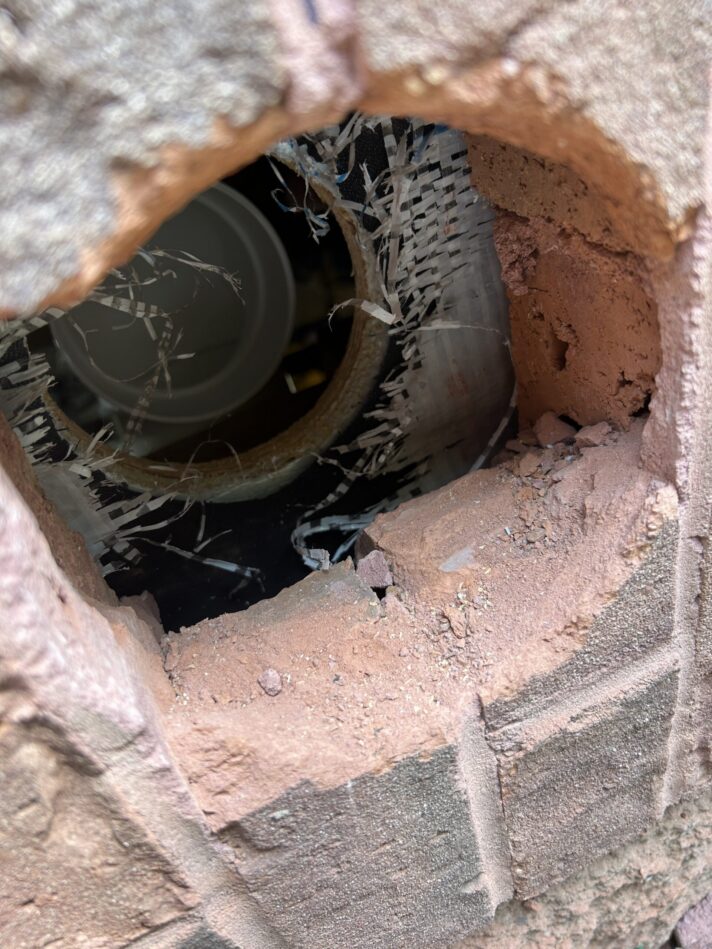
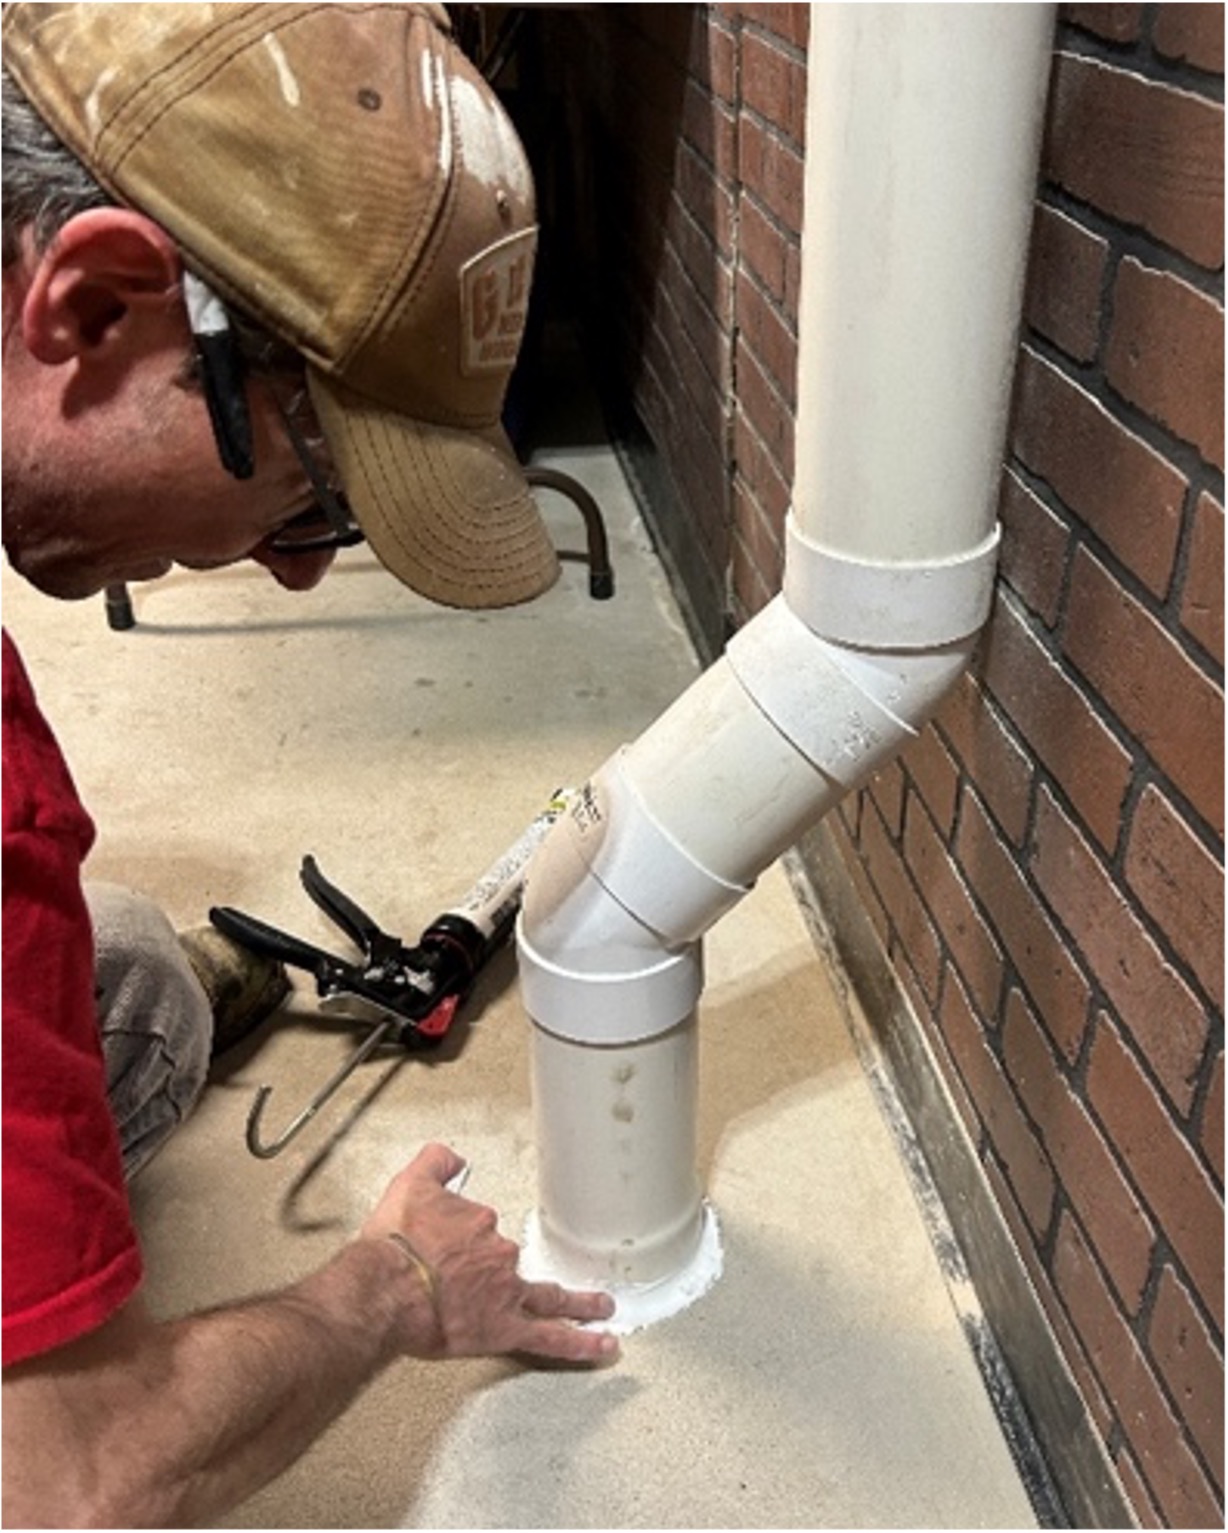
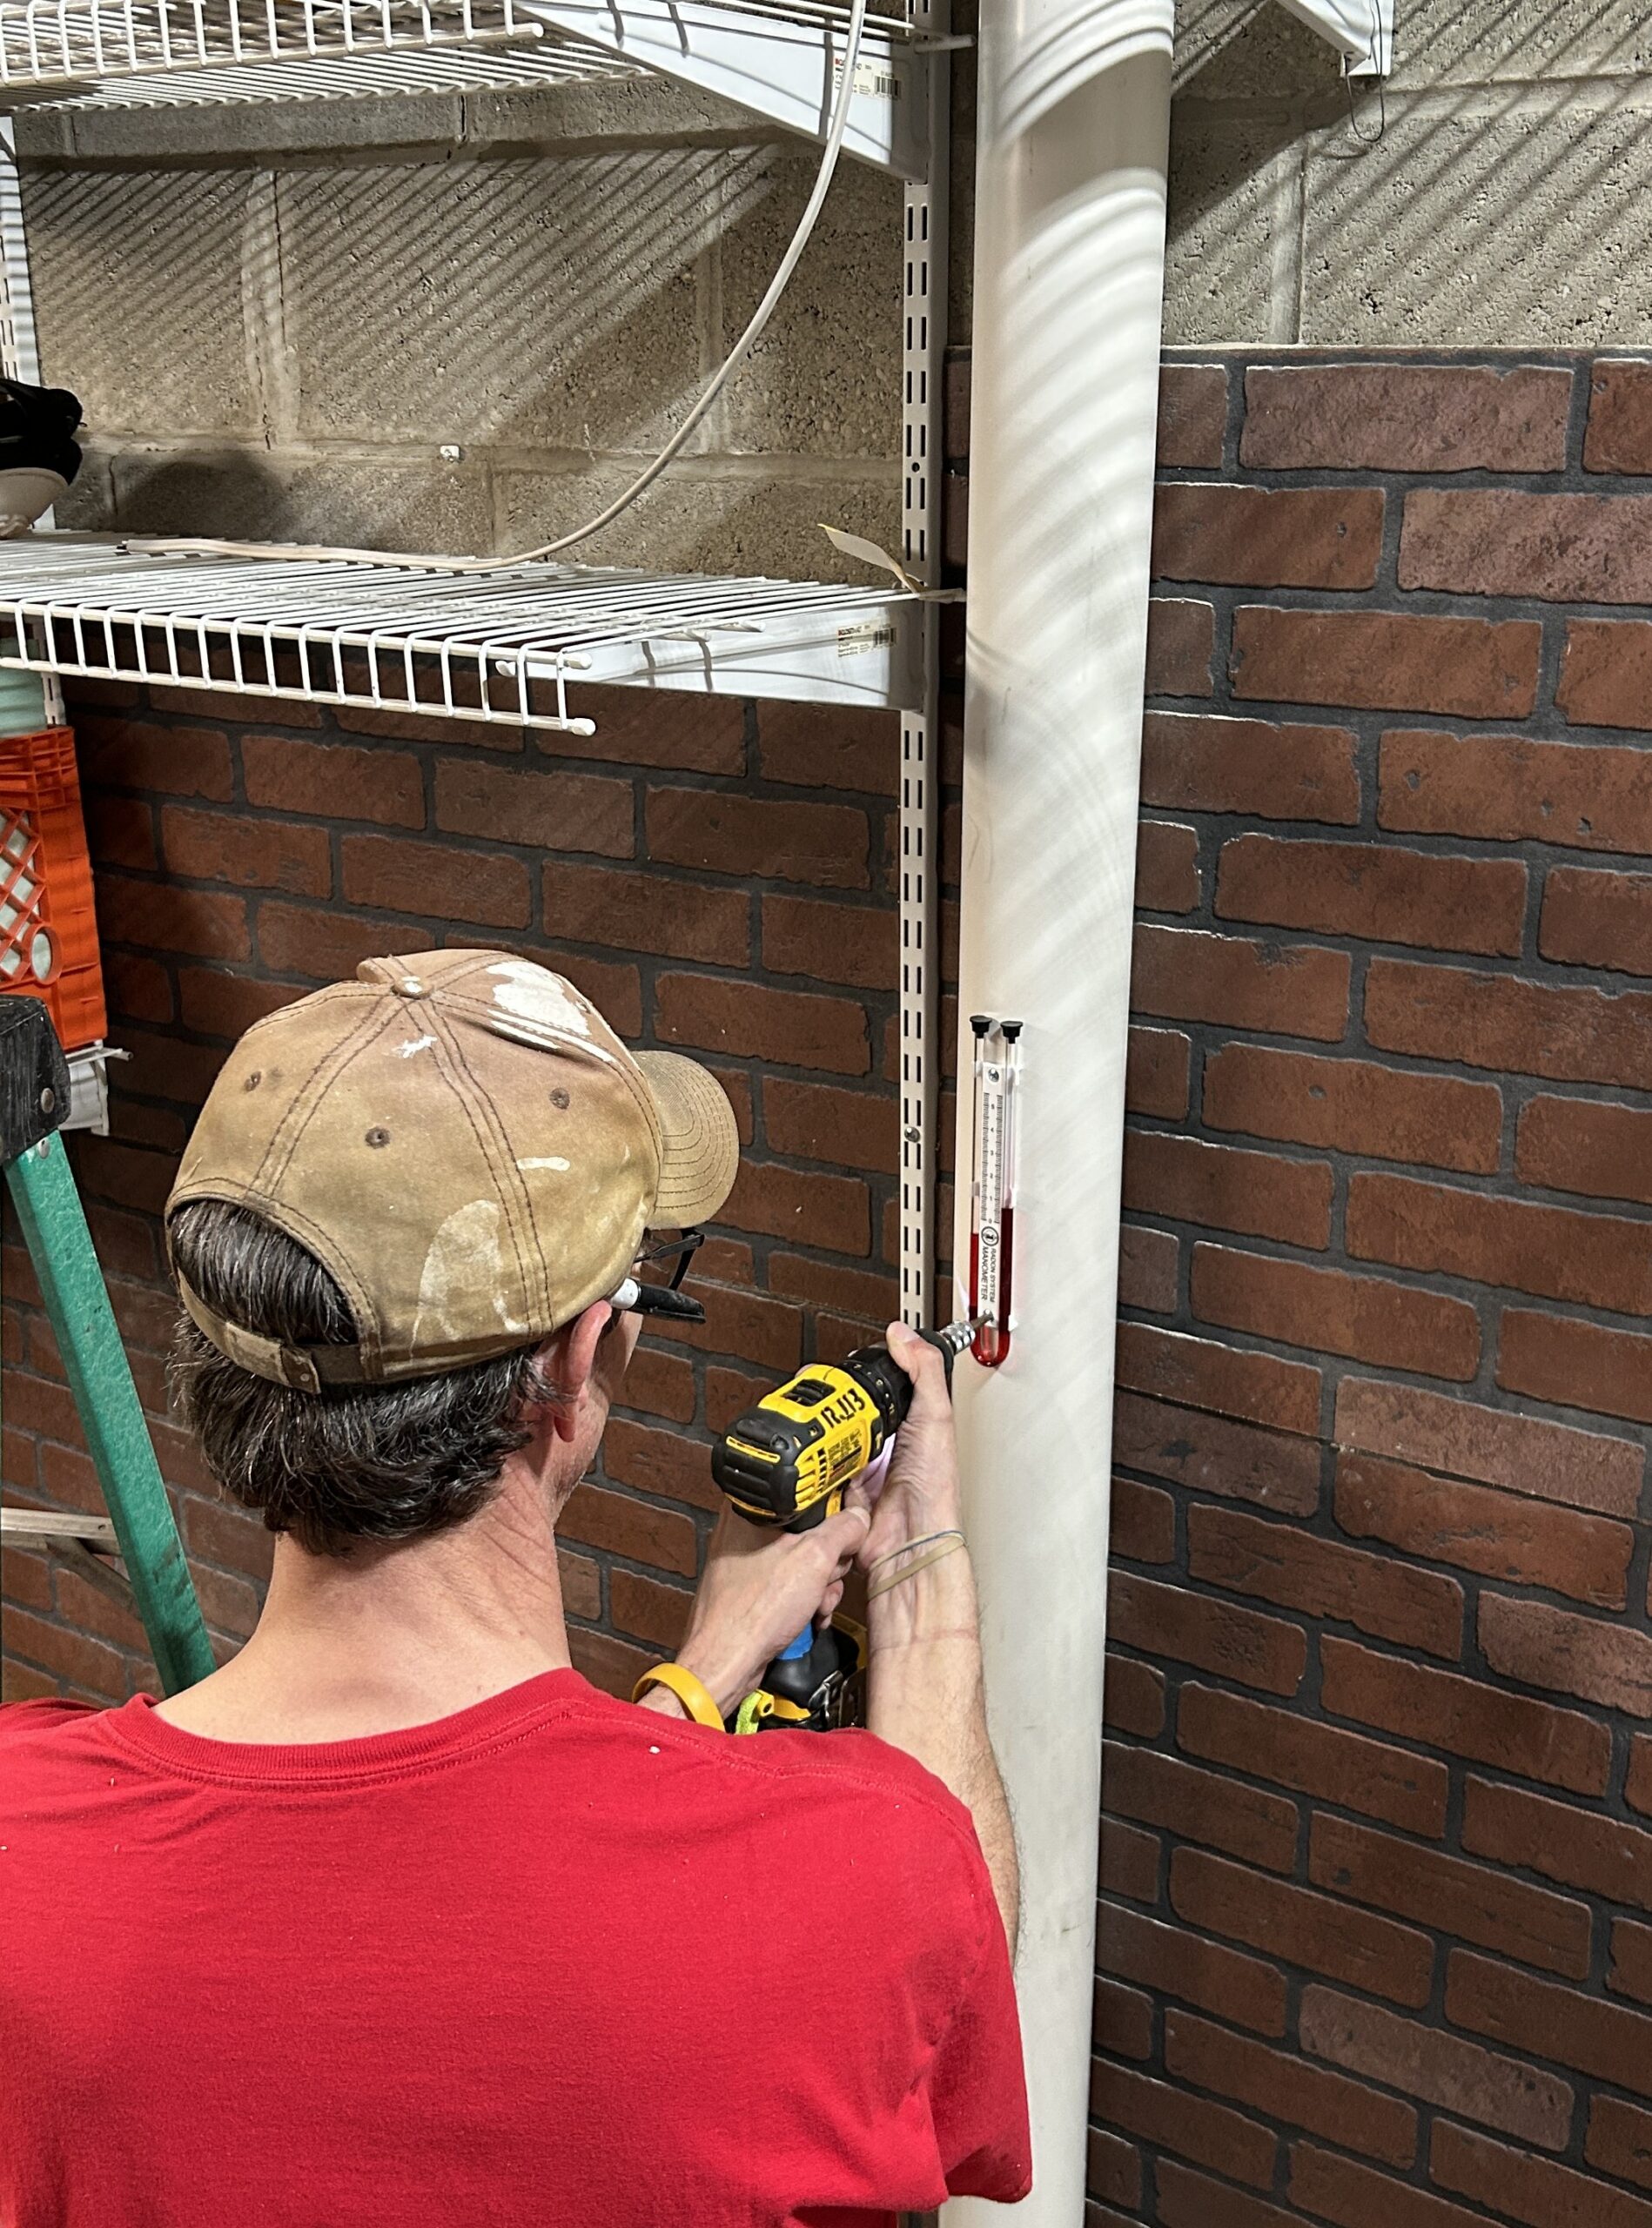
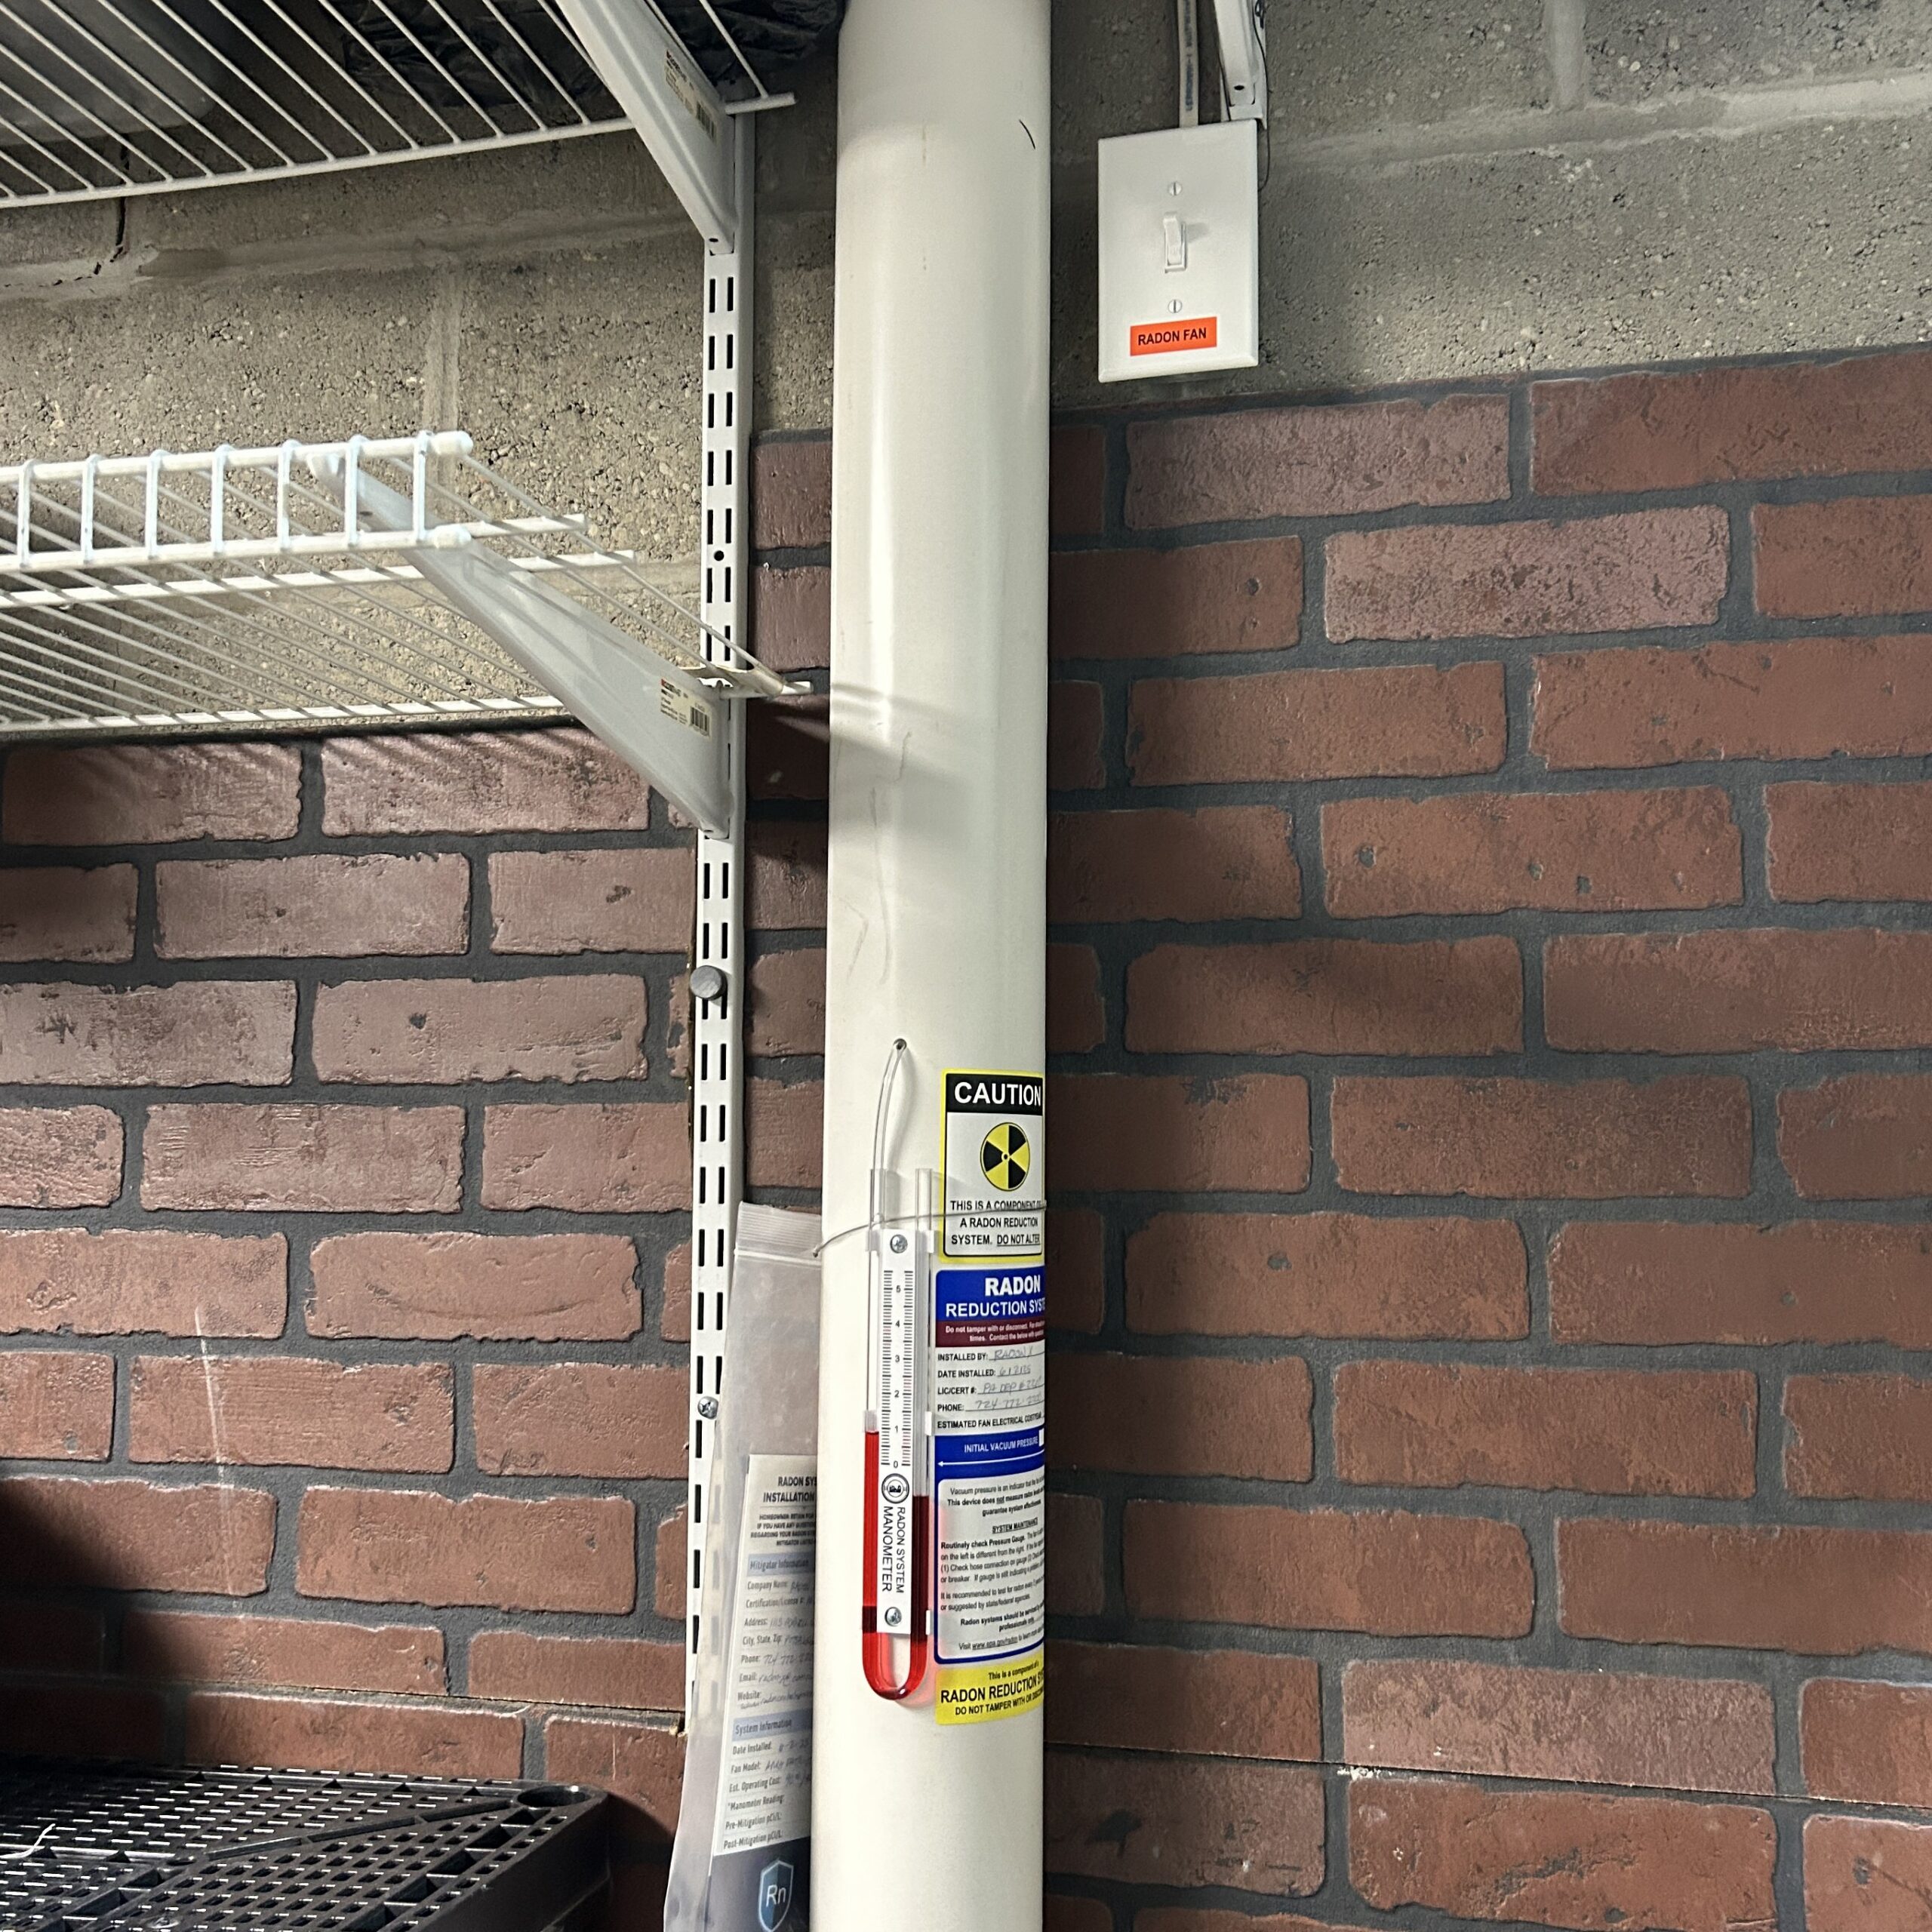
Installation of the manometer and fan switch:
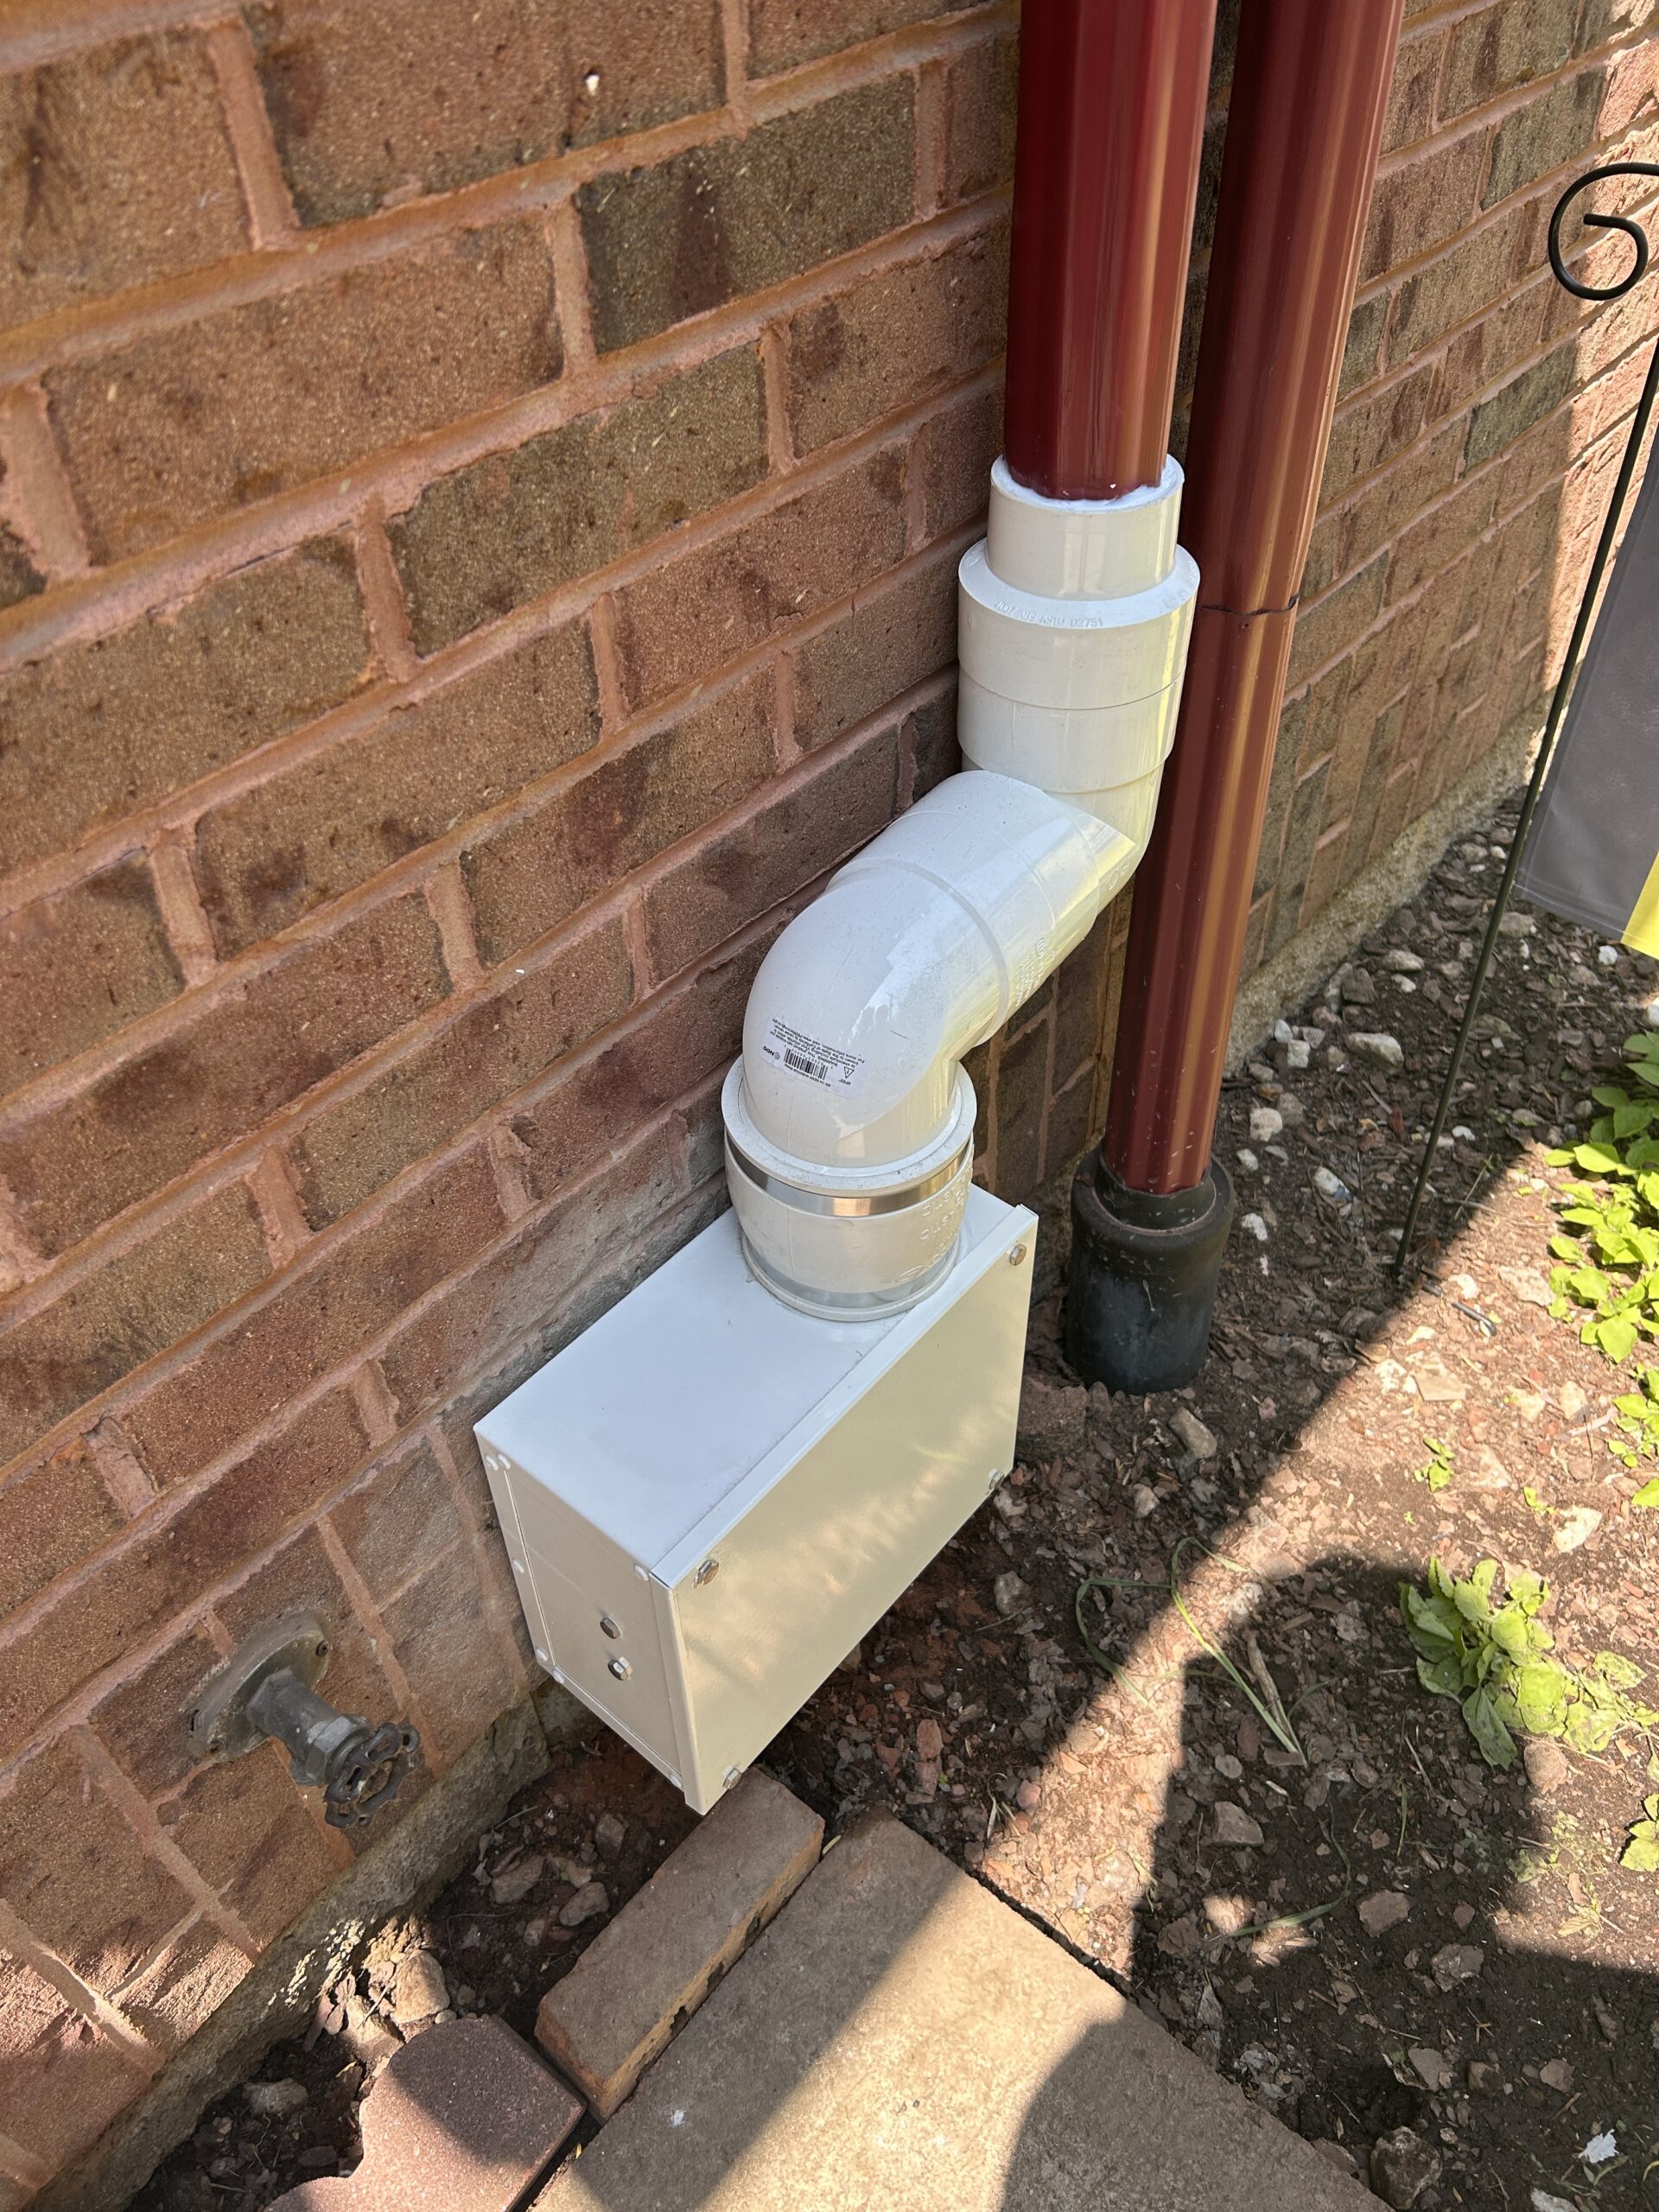
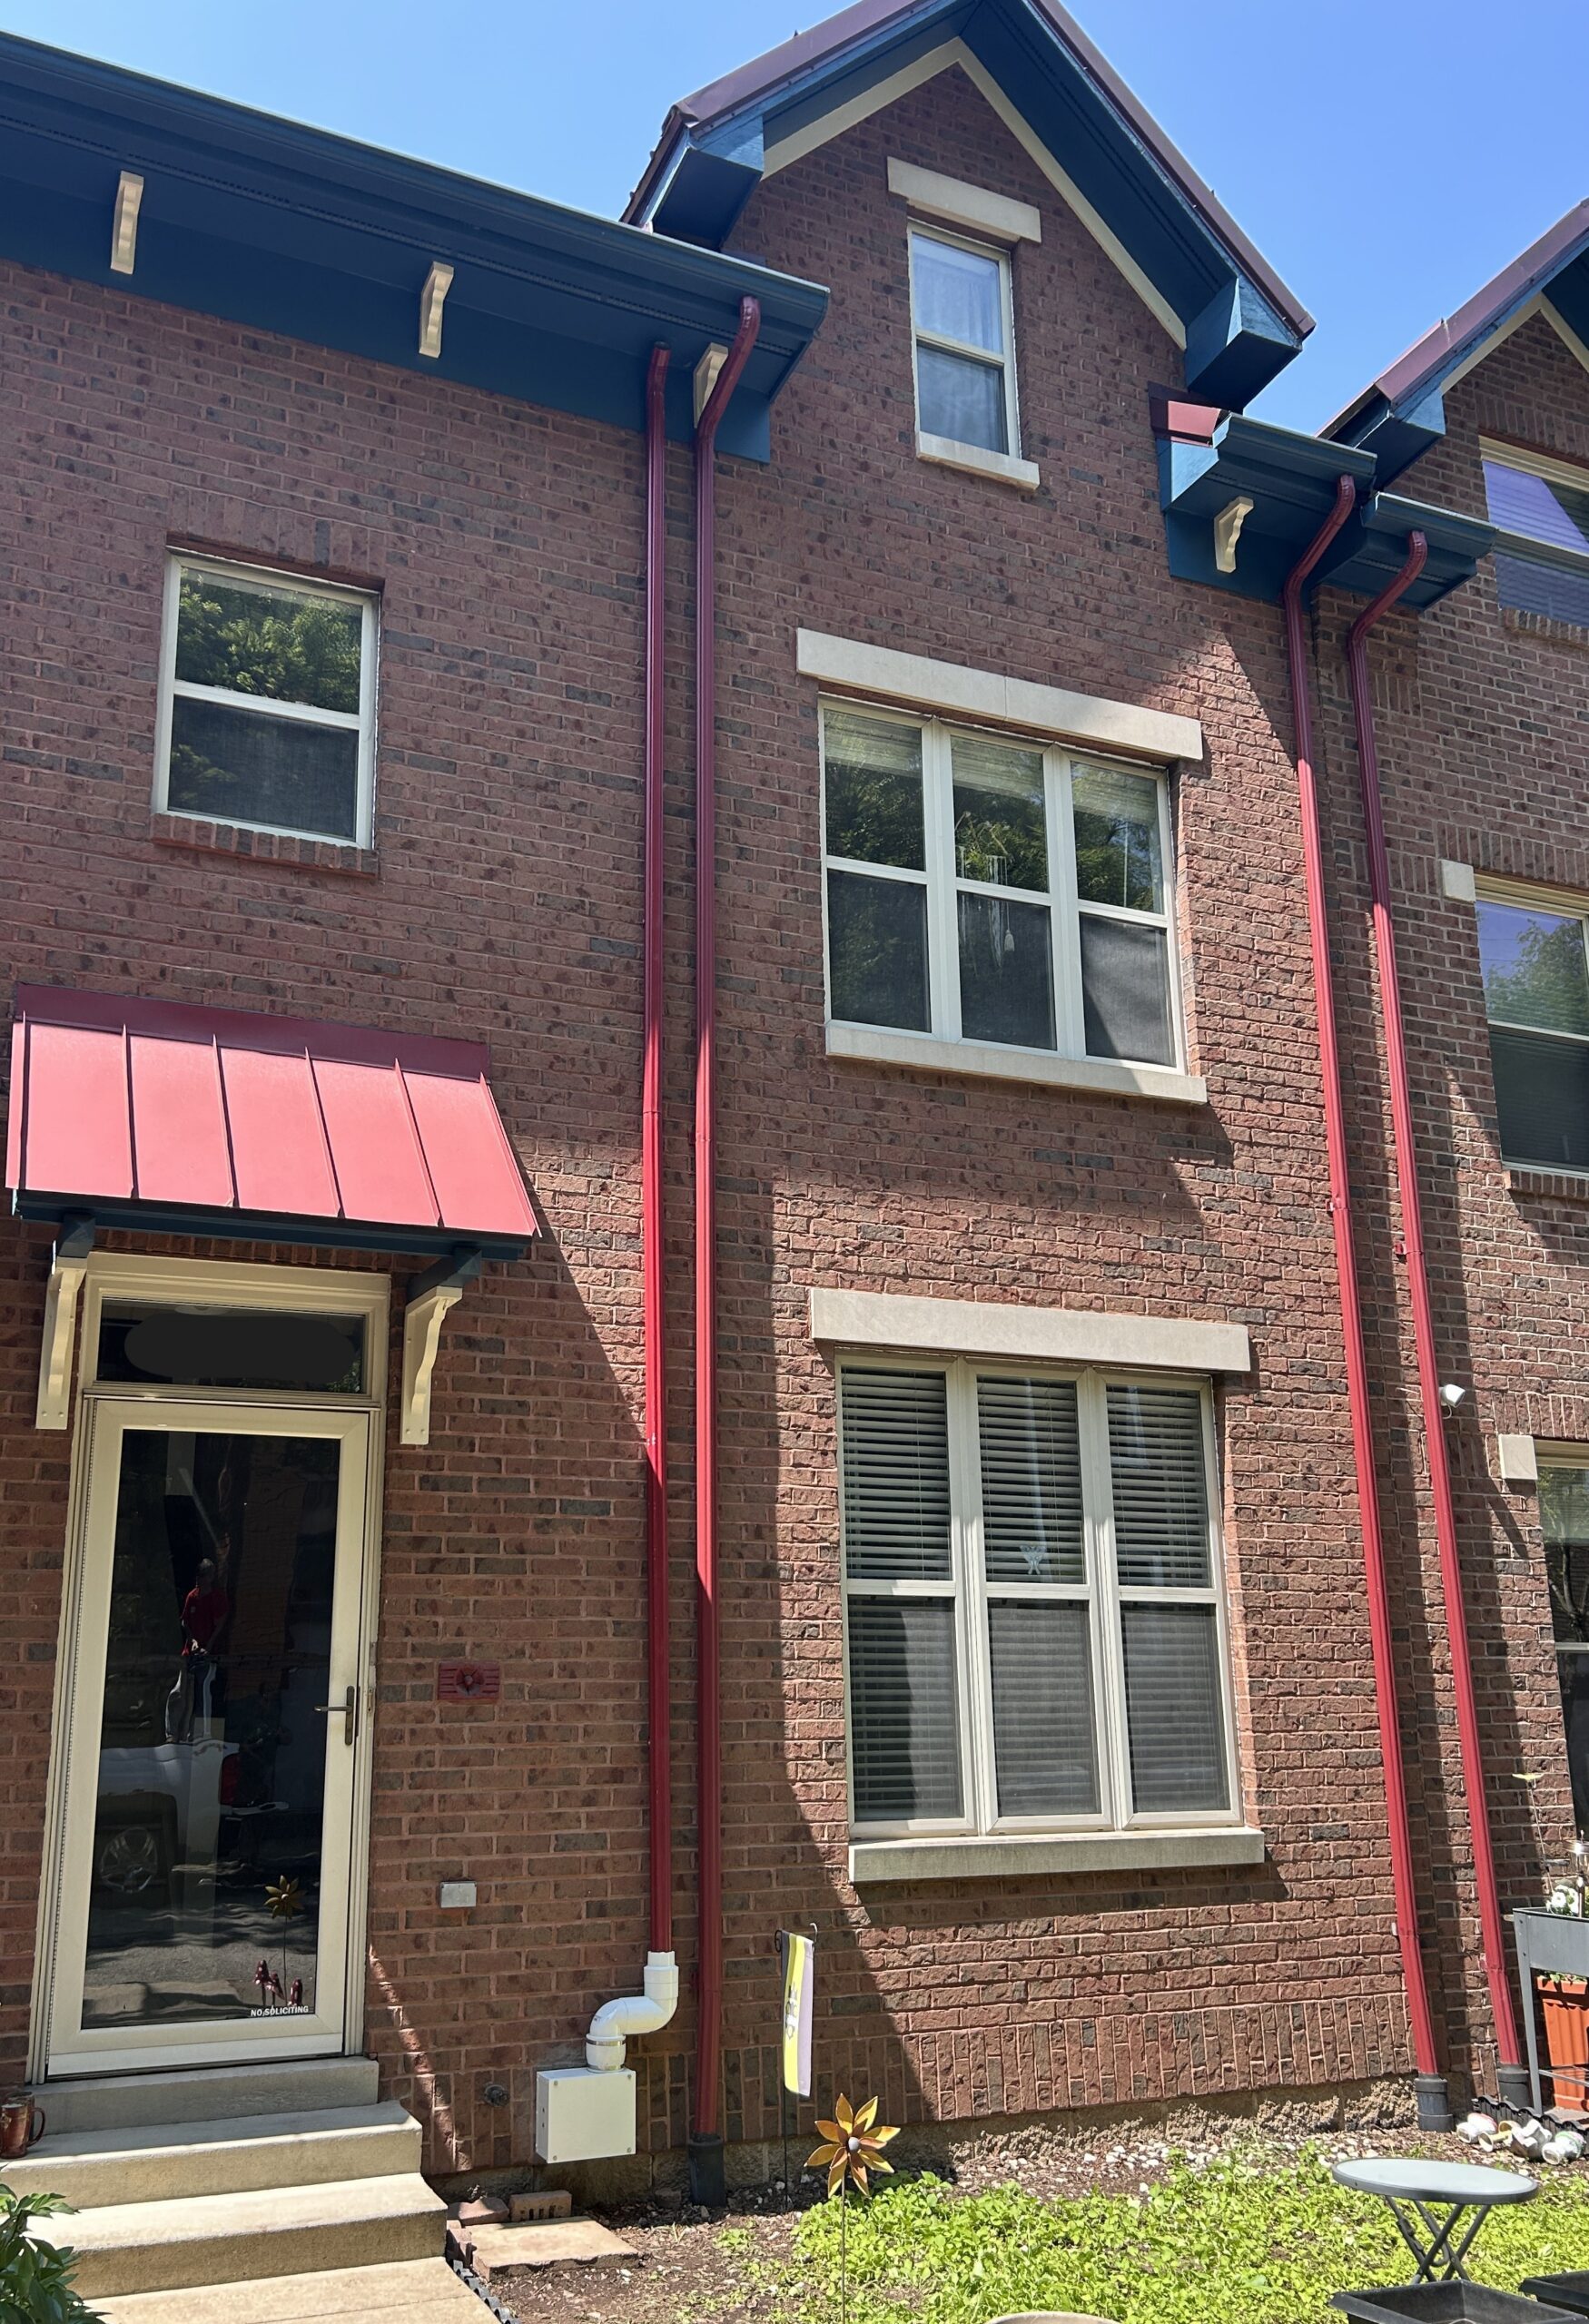
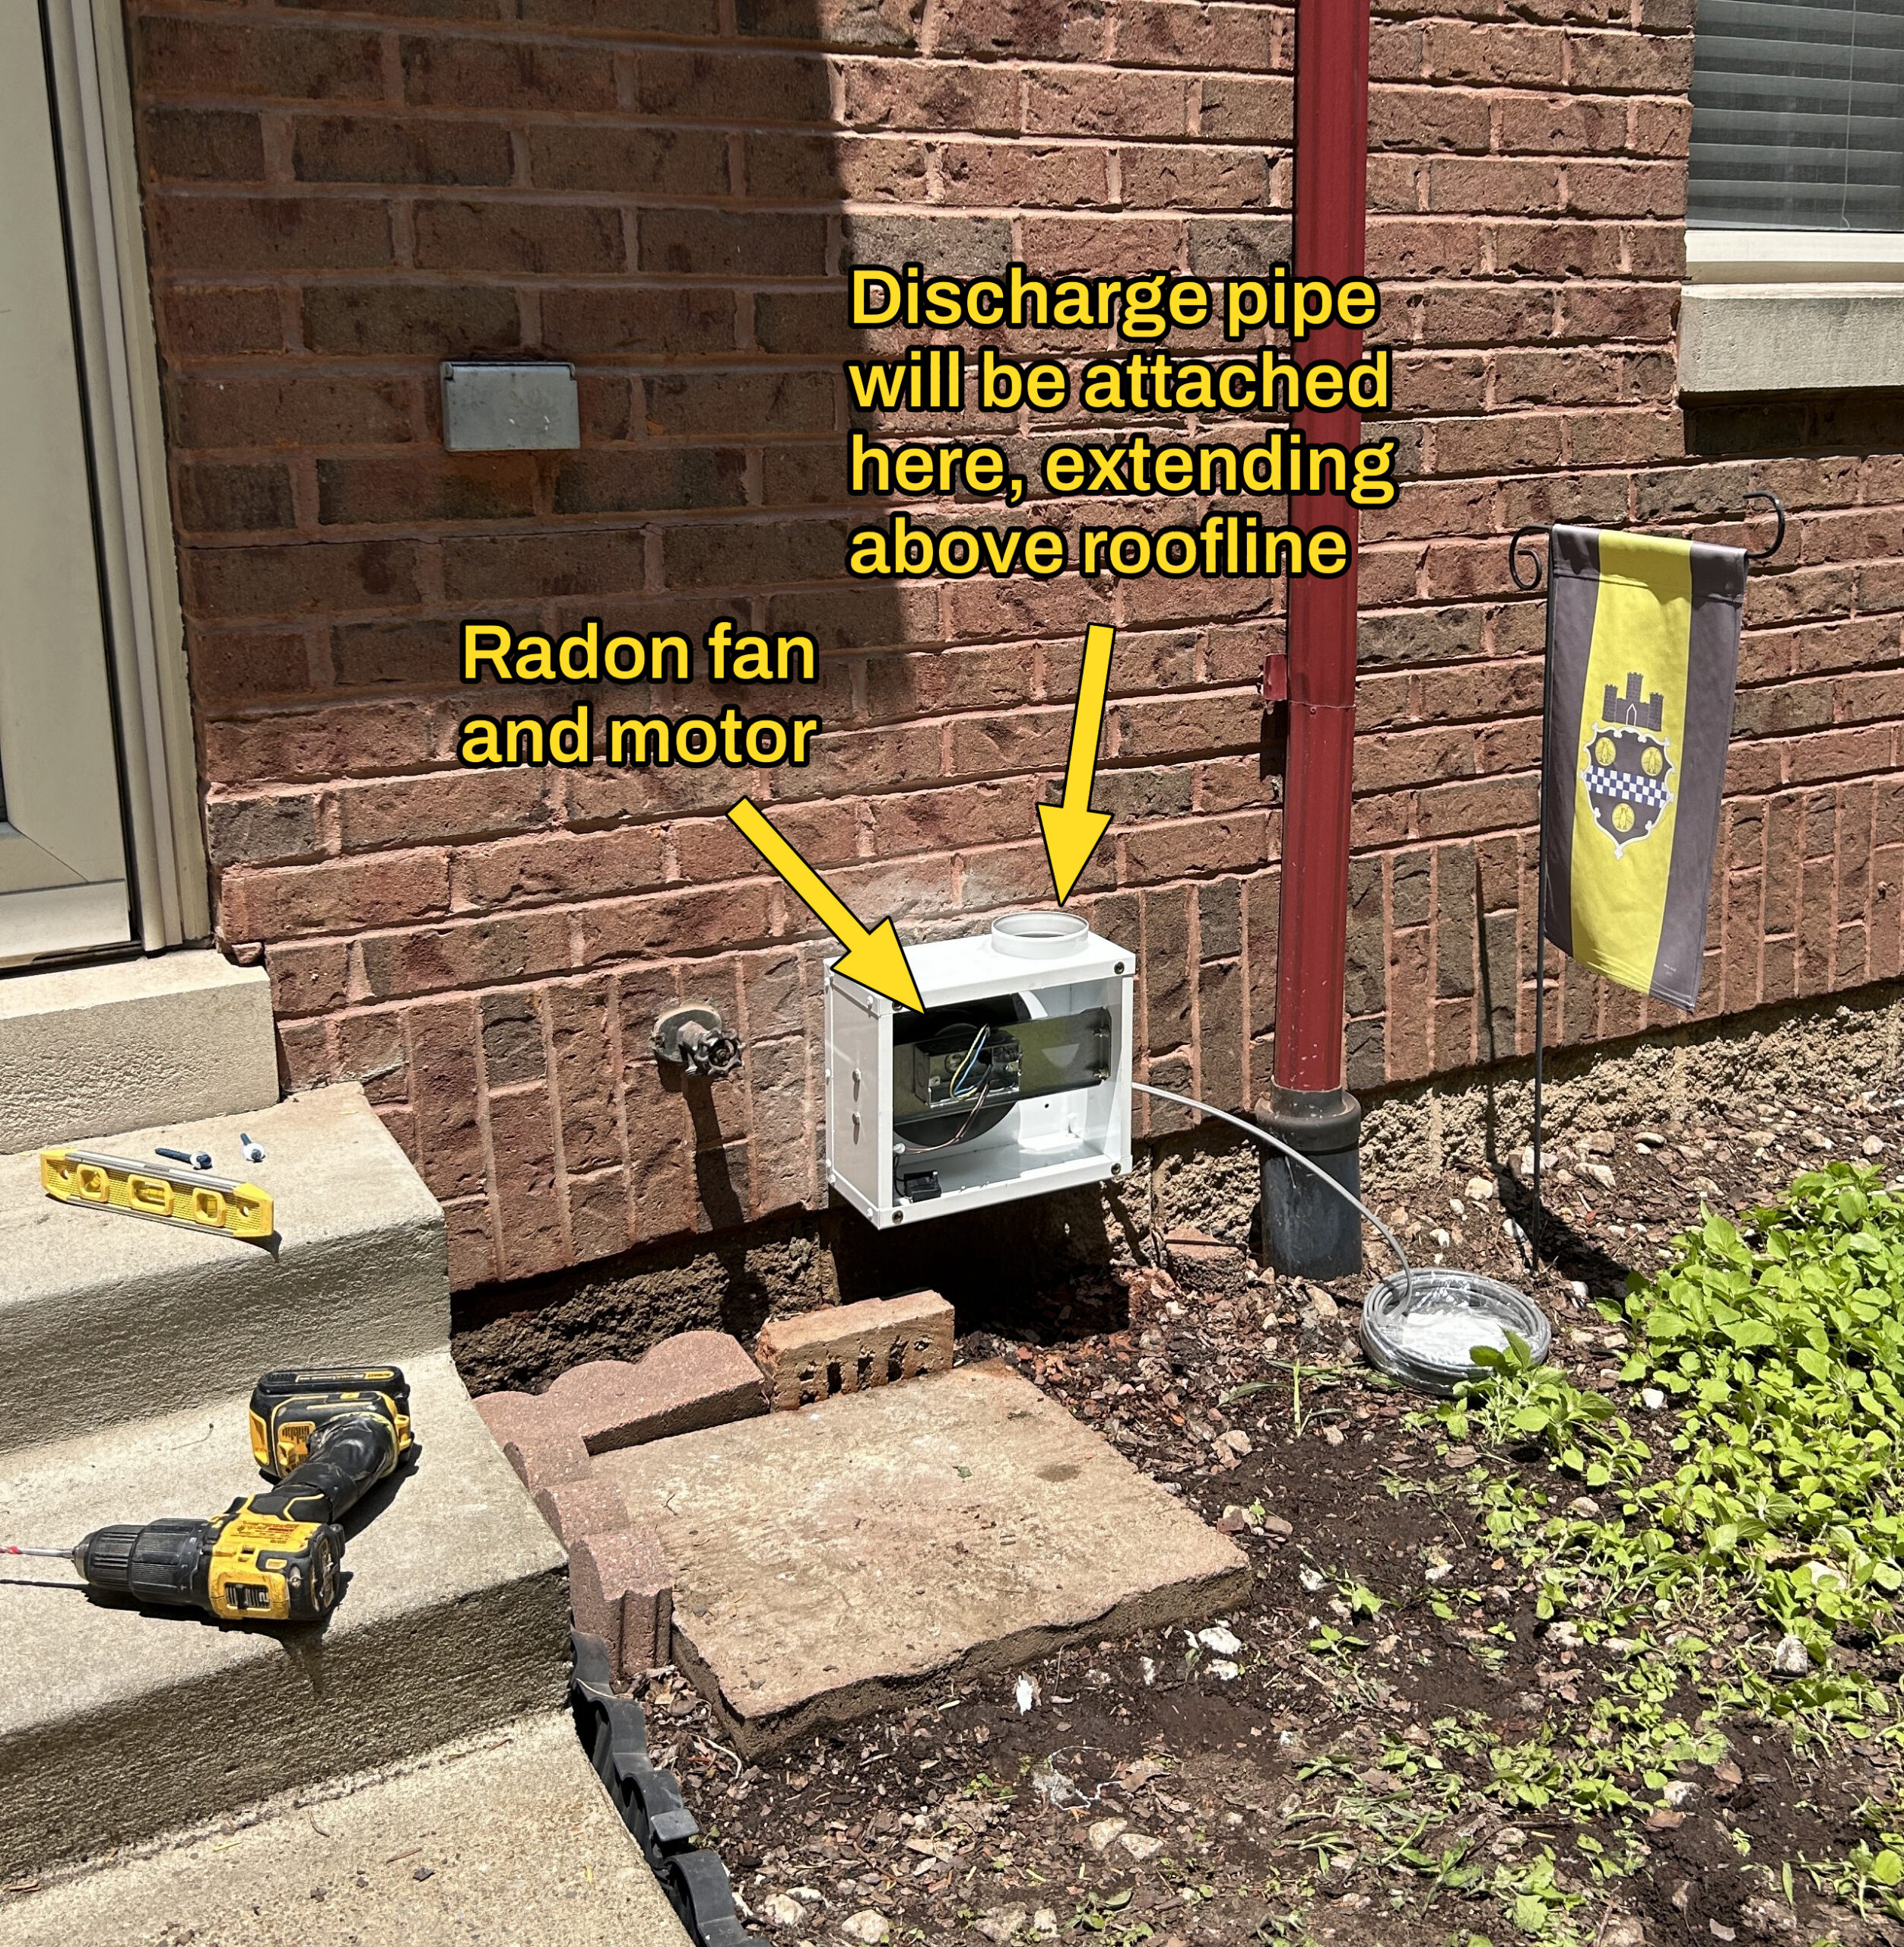
We had decided to pay a small premium (about $350) to use matching metal downspout for the exterior pipe (instead of white PVC) and to install a slim profile inline fan painted to match. Unfortunately, there was a problem with some of the metal downspout material, and they couldn’t complete the work around the soffit that same day. Since that additional work might also require paint touch-up, we agreed to wait for them to paint the fan until they came back to finish. In the meantime, the system was fully operational and discharging radon gases well above ground level; we noticed right away that our basement radon numbers dropped to the lowest we had seen: less than 0.5 pCi/L.
The next day, Jon emailed a copy of the warranty.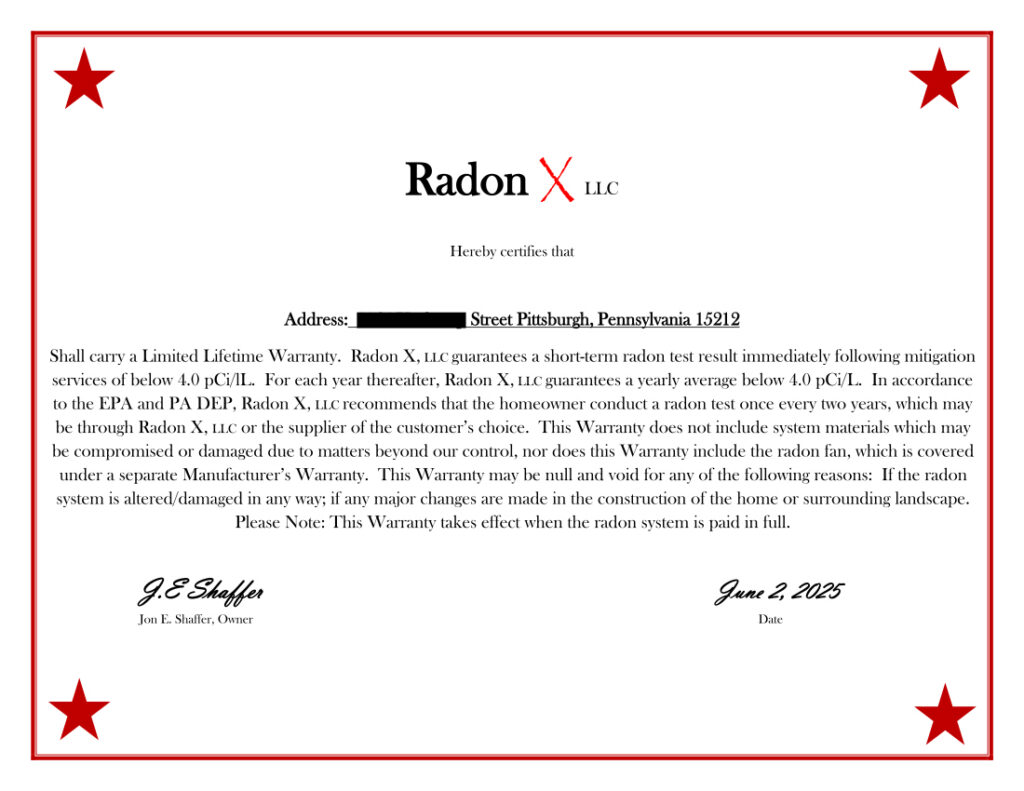
A few days later, we inquired about noise, especially on the exterior. When we compared the sound of our system to other systems installed on our street it was obvious that ours was louder—not unbearably so, but certainly noticeable. Jon reminded us that noise is typical and also explained that this may be due to the type of fan we chose (the “more attractive” smaller fan versus the typical bulbous fan that most folks have) or due to the metal pipe (versus typical PVC) or both. Since he had not yet custom painted the fan, he offered that we could consider switching to the larger fan to help address noise. We decided to give it a few more weeks to see if we acclimated.
For a variety of reasons, Jon didn’t return to finish the project until about a month later. On July 7, 2025, he arrived at 9:15 a.m. and was finished within an hour. He attached the rest of the metal pipe and elbows around and above the soffit.
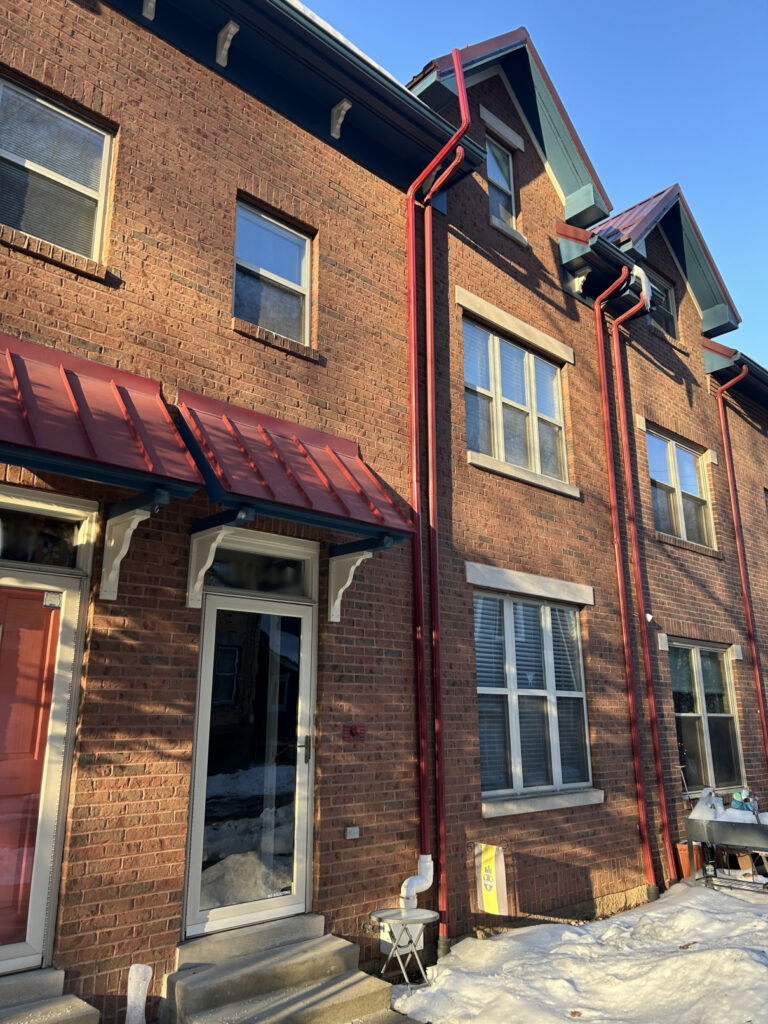
Completed metal pipe connection at upper soffit
The noise dissipated a little bit with this additional length of pipe—but not a lot.
Overall, the system is working extremely well, as evidenced by the two annual graphs below: pre-mitigation (June 2024–June 2025) averaging 3.3 pCi/L and post-mitigation (June 2025–June 2026) averaging 0.9 pCi/L.

From June 20, 2024 – June 2, 2025, our personal radon monitor data averaged 3.3 pCi/L
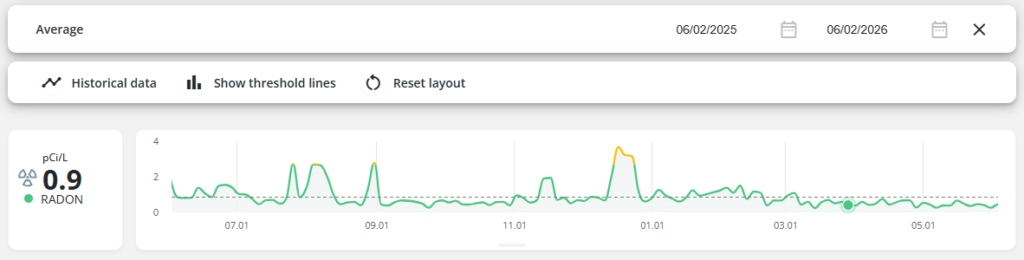
From June 2, 2025 – June 2, 2026, our personal radon monitor data averaged 0.9pCi/L.
Thanks to ROCIS, we learned that we had an opportunity to improve the health of our home and Billy’s workspace—and thanks to daily monitoring, we are confident that the system is working!
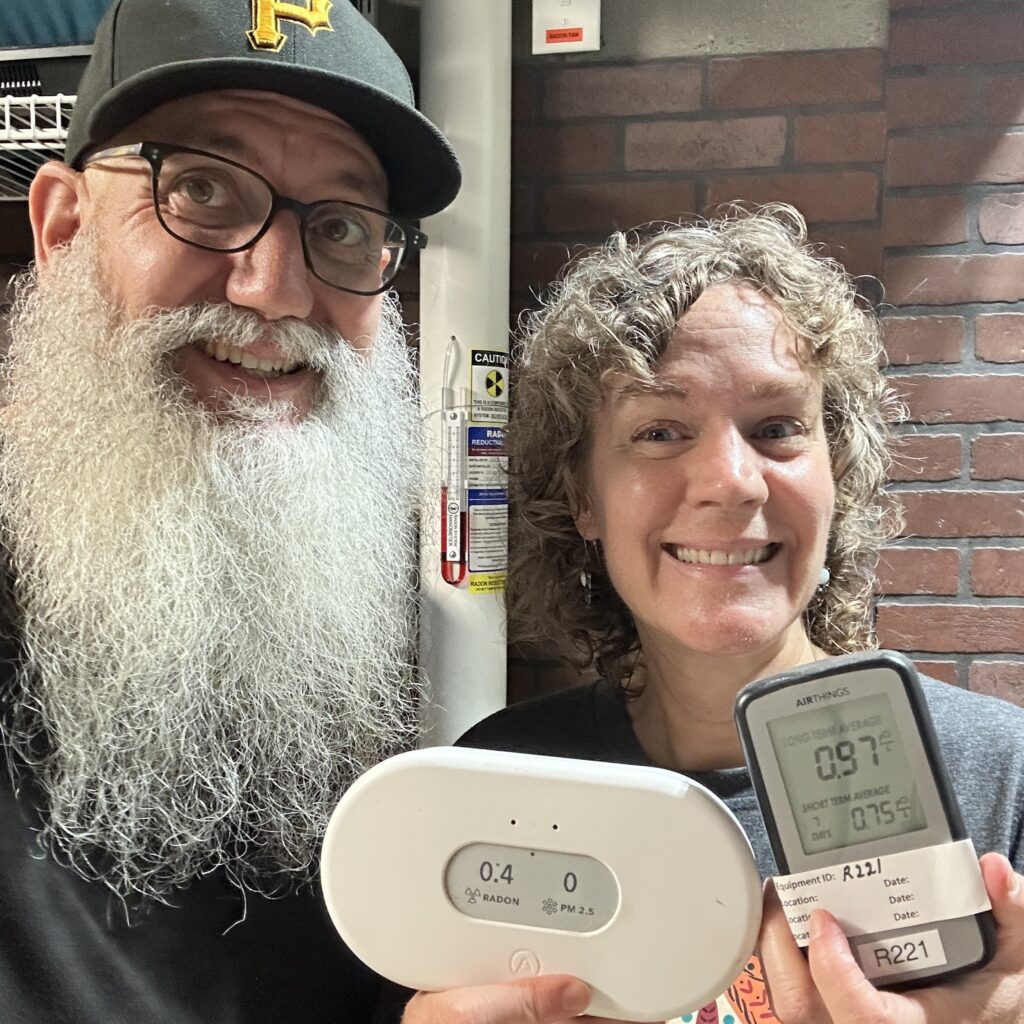
Karen and Billy with their radon monitors