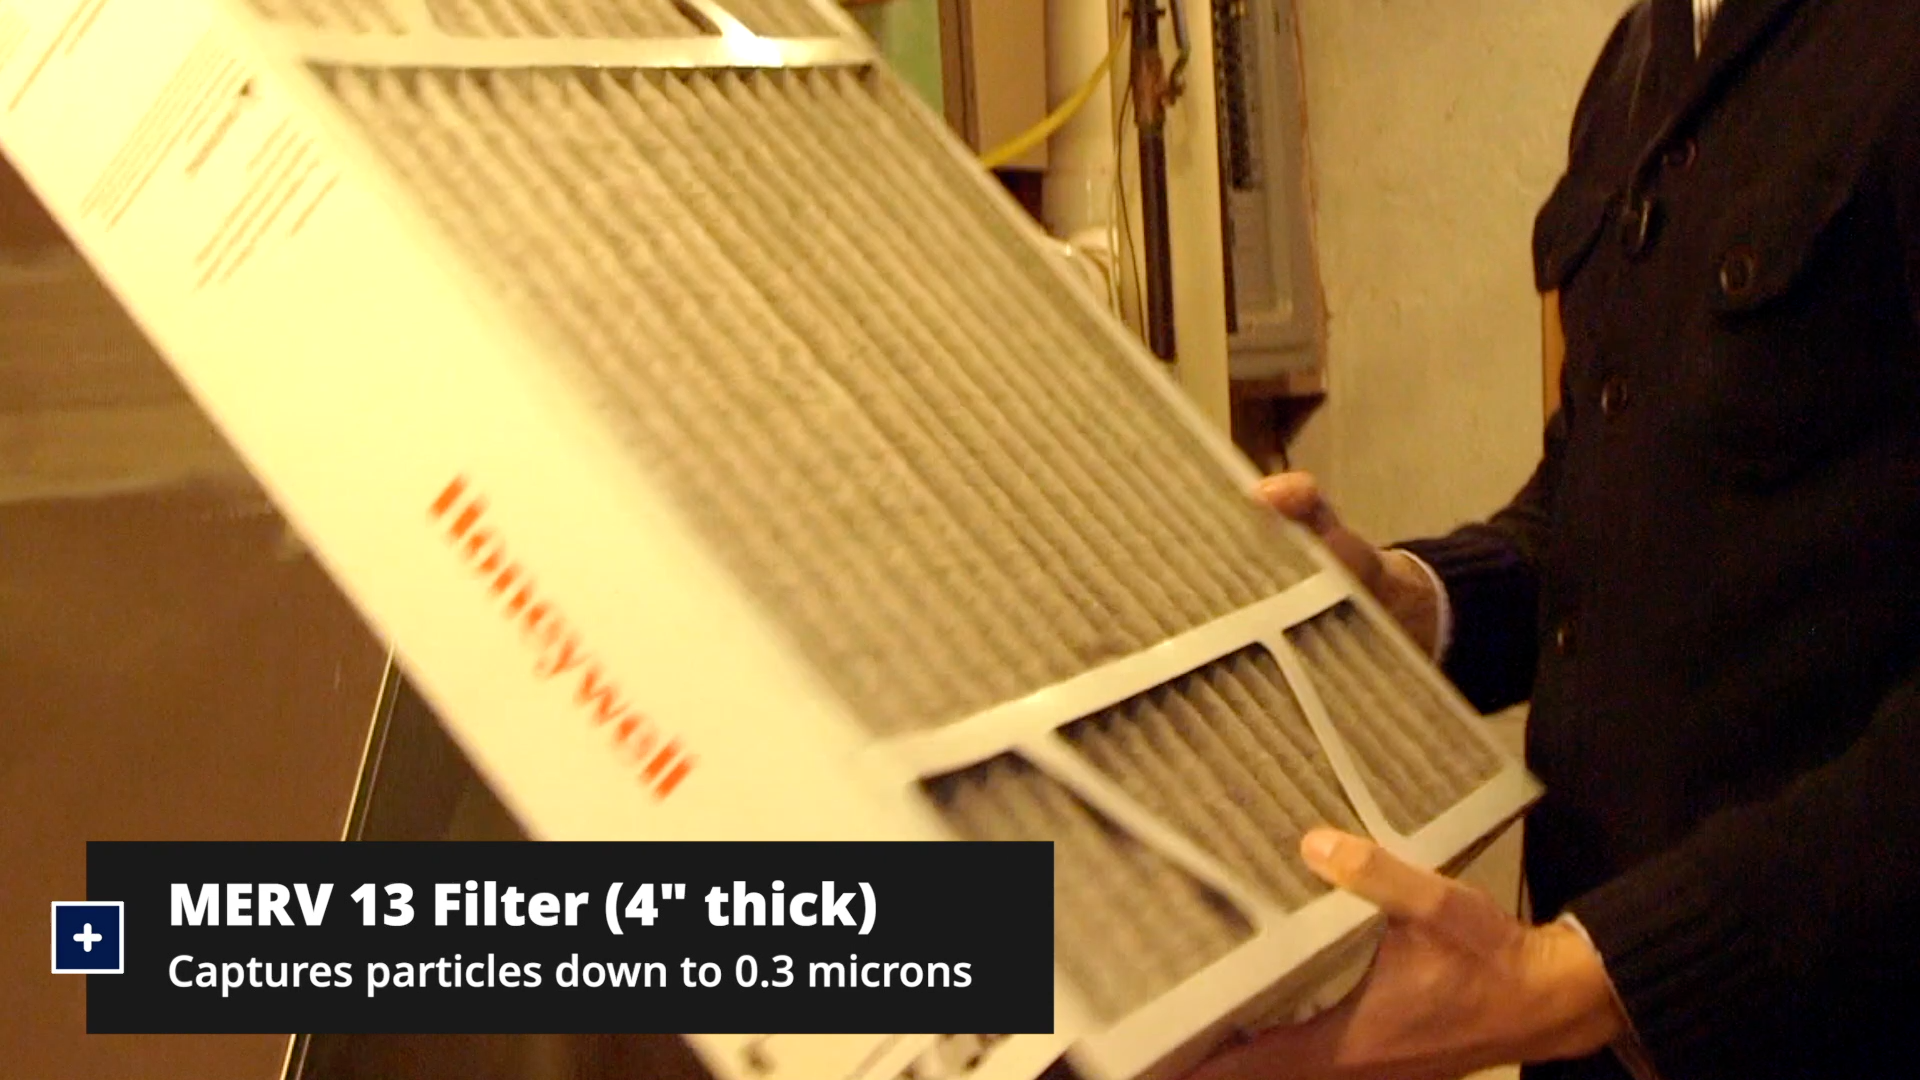
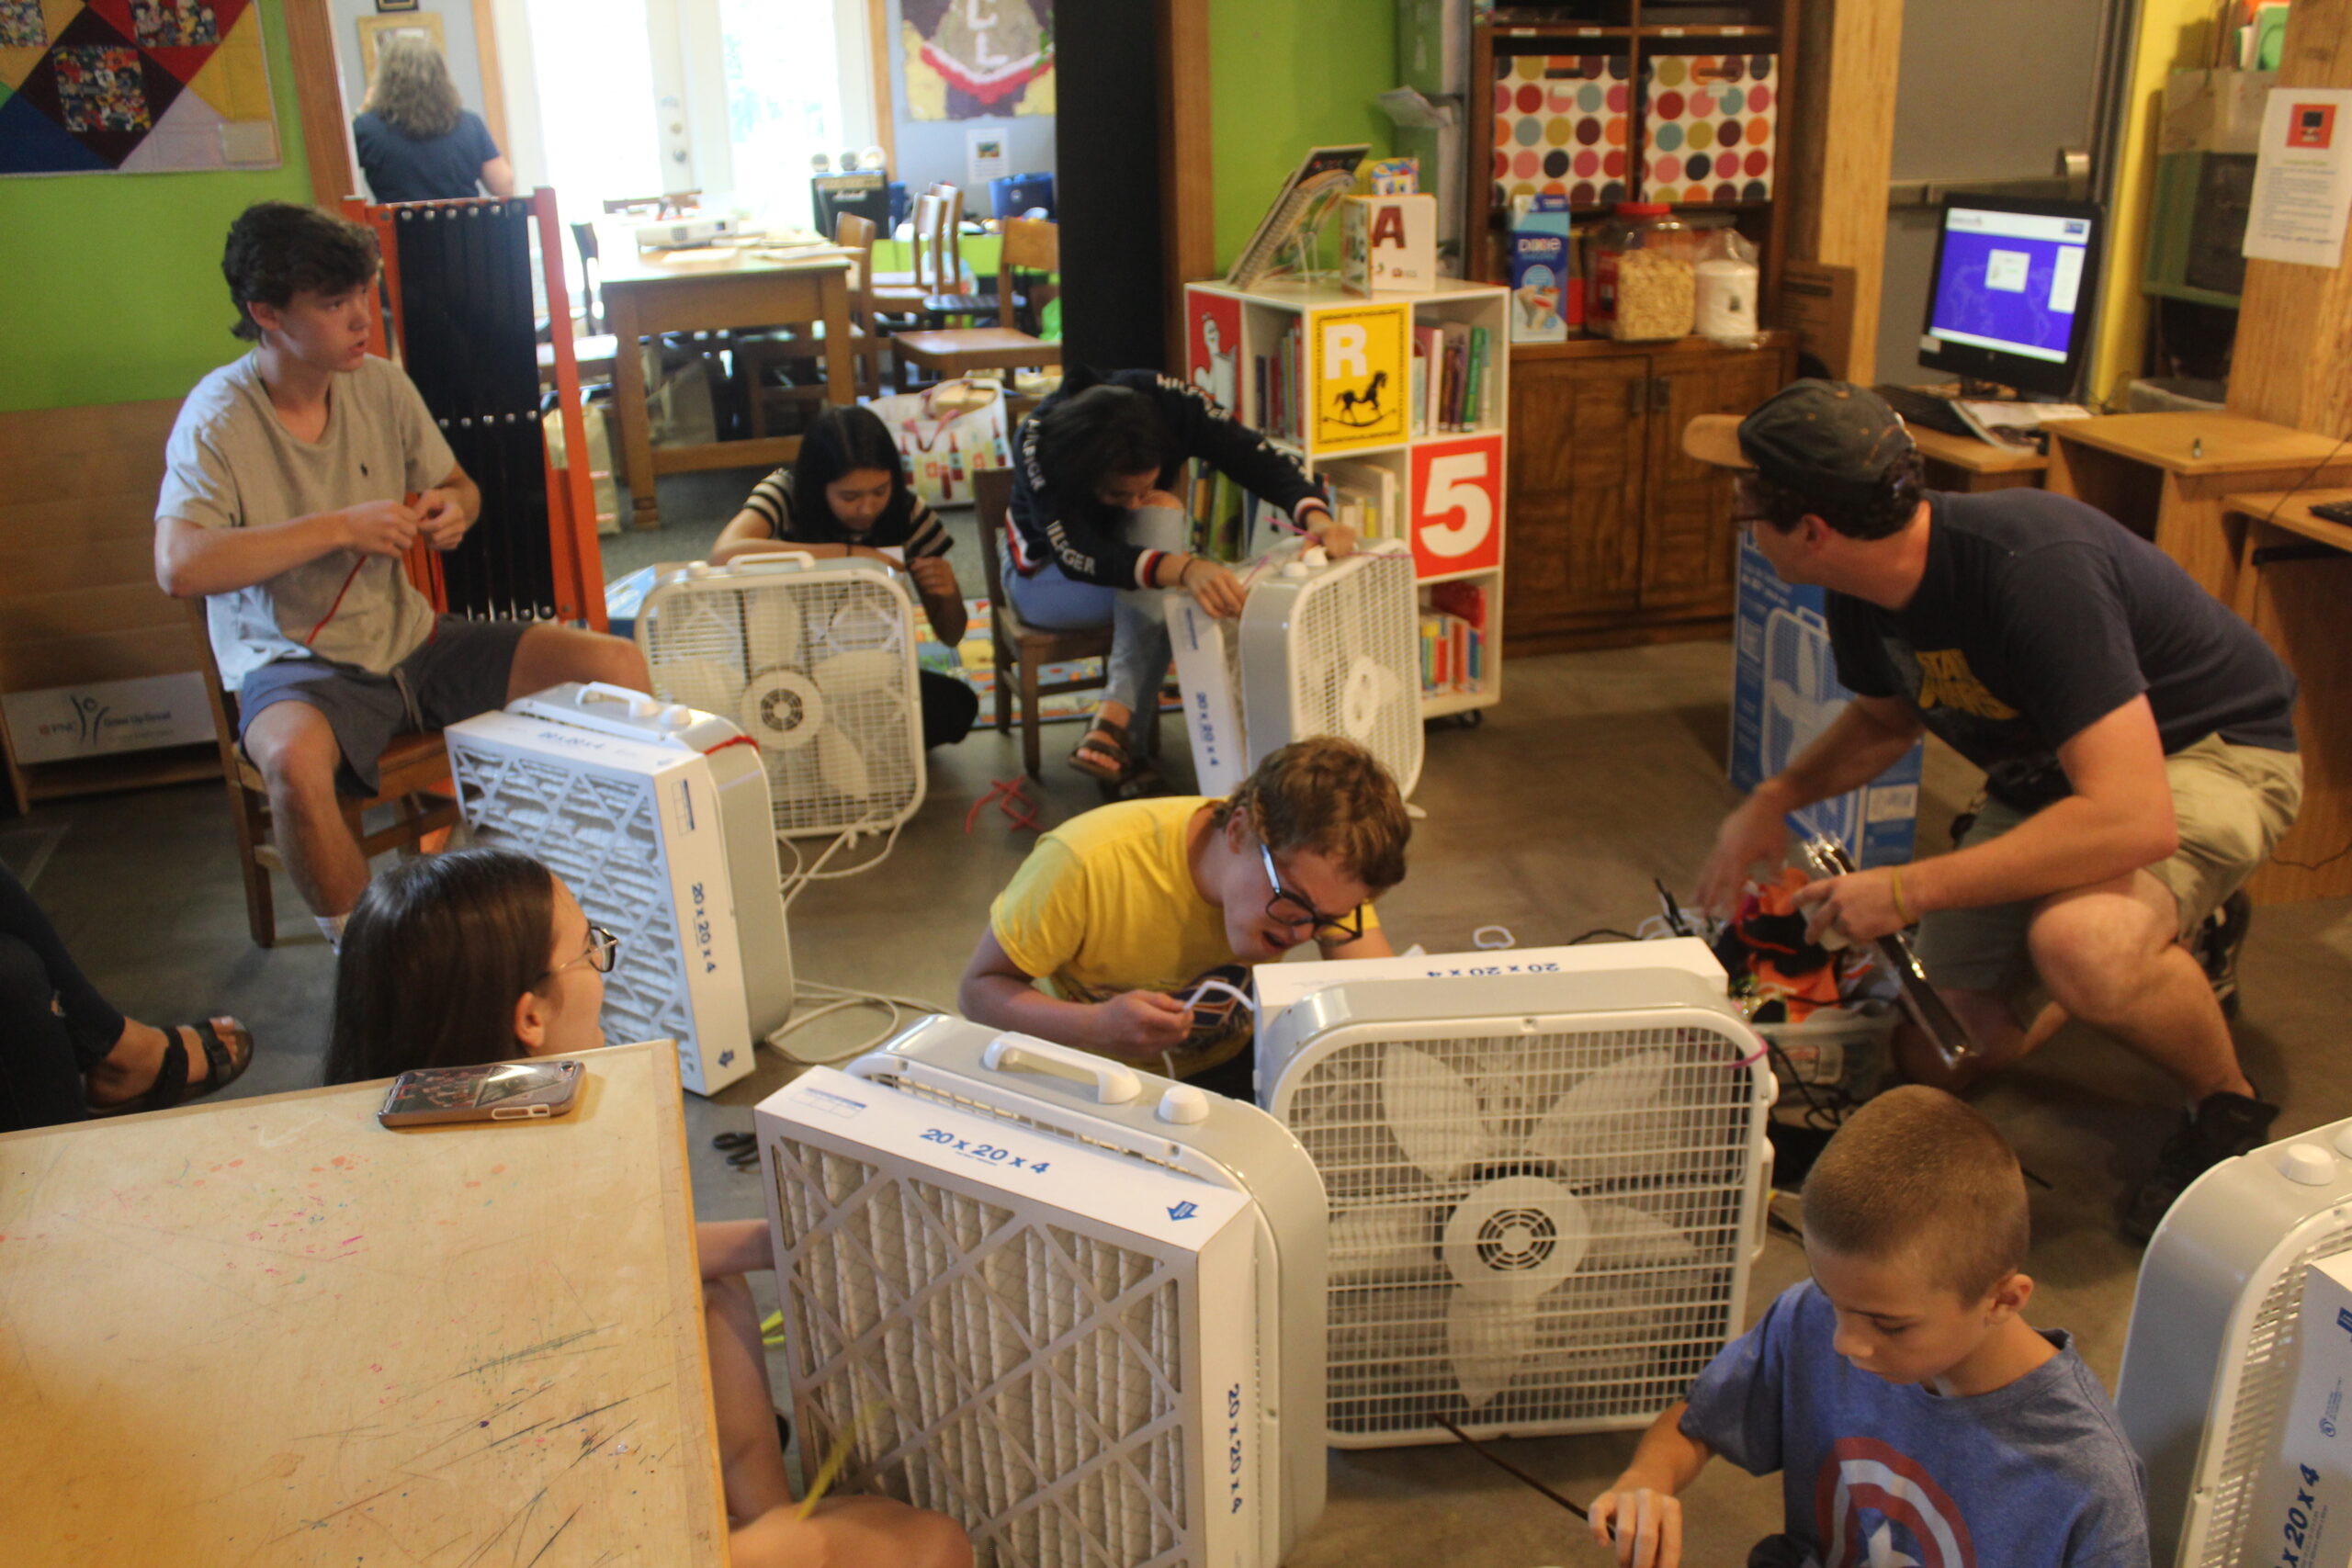
The fan/filter is a DIY and low-cost strategy to effectively remove particles in the air. Our team recommends using a MERV-13 20×20 4″ filter for desired filtration and longevity. Through our Low-Cost Monitoring Project participants, we have seen a significant reduction of particles (0.5+ microns) in homes with the use of a fan/filter.

What You’ll Need
The fan/filter can be placed in a window to filter outdoor air as it comes into your home, or it can be used within a space. Fan/filters are particularly useful if homes rely on open windows during the summer months for comfort.
Materials
- MERV 13 20×20 4” furnace filter
- 20×20 box fan
- Foil-faced duct tape or cellophane tape
- Scissors/utility knife
Steps
-
Find the arrow indicating airflow on the filter; make sure this matches the direction of the fan’s airflow.
-
Place the filter on the box fan. We recommend placing the filter on the front of the box fan if placed in a window. The filter can be placed on the back of the box fan if used to recirculate the air within a room.
-
Secure the filter to the fan by using tape; completely seal the filter to the fan with tape.
-
Plug in the fan/filter and run on low. Your DIY fan/filter is complete!
-
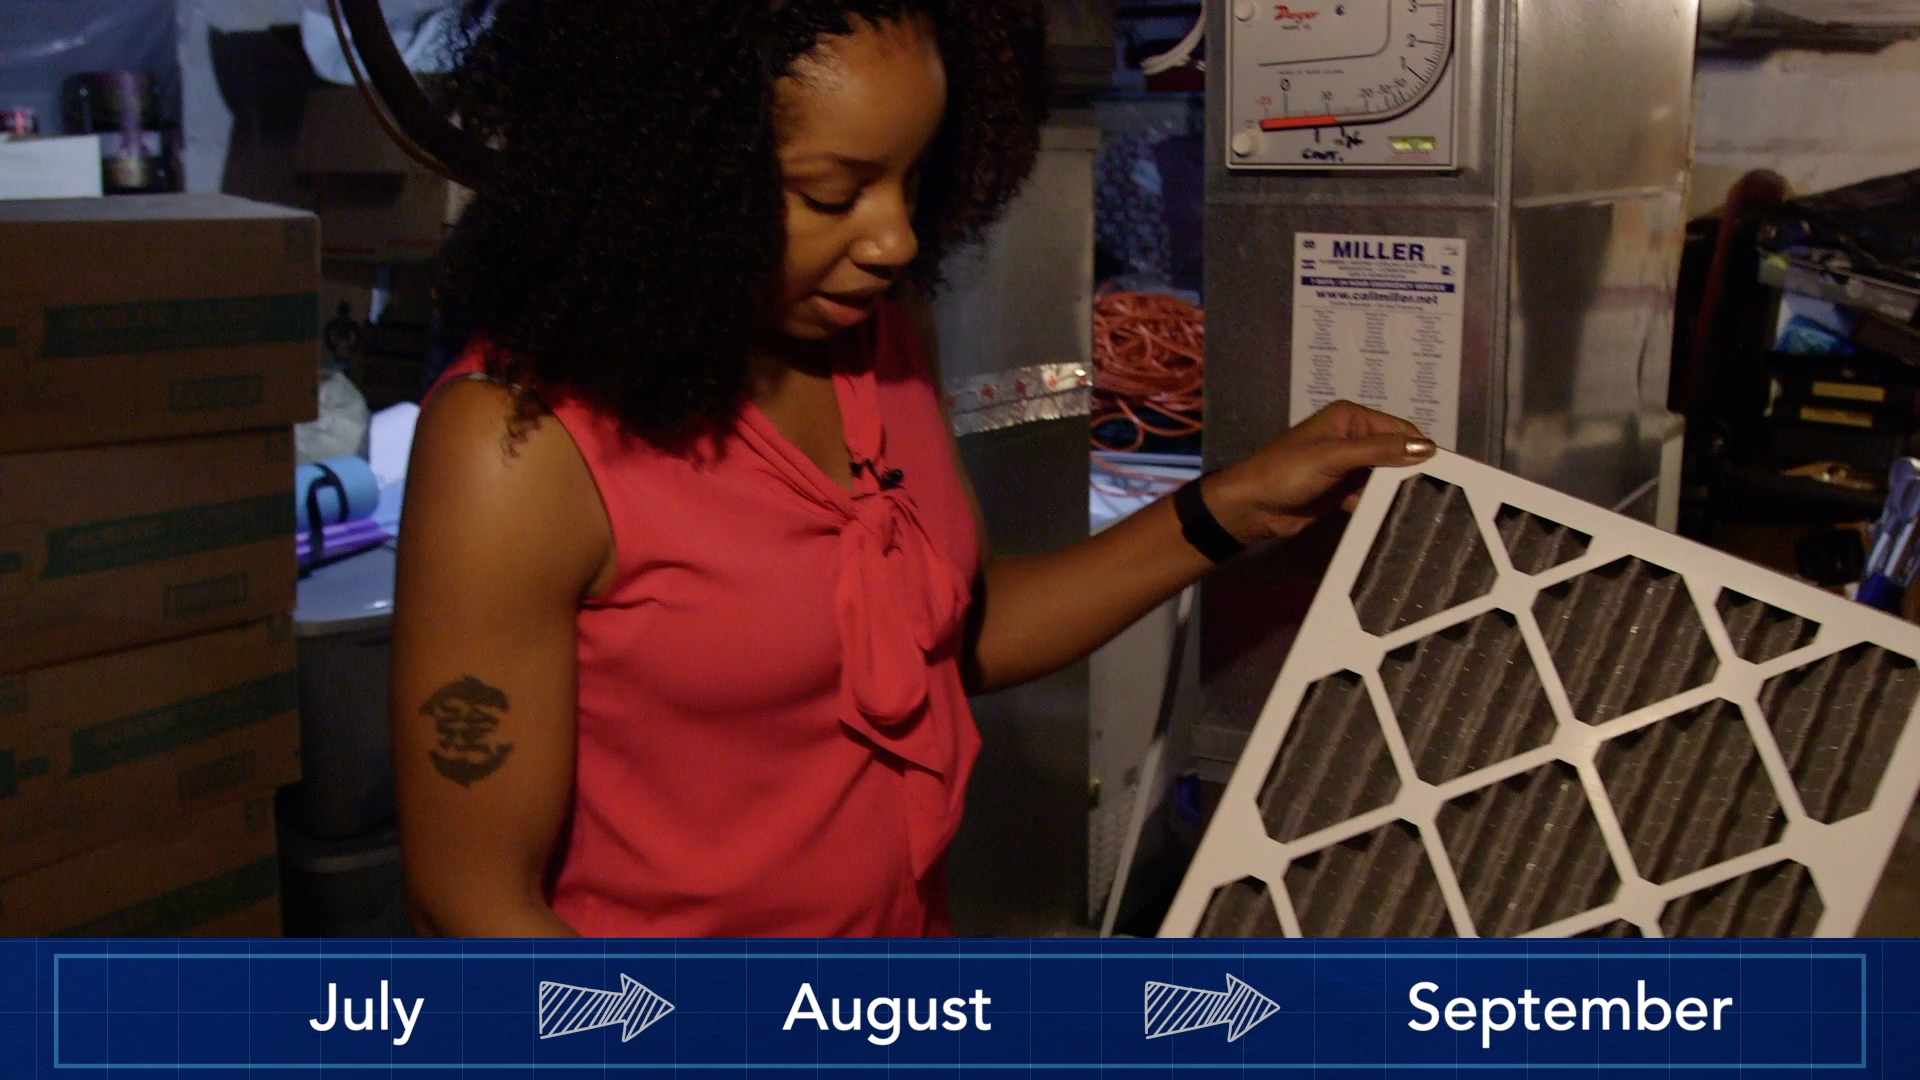
Change the filters as needed. A 4″-deep filter should last for 6 months of continuous use if used within a room rather than to filter air coming in a window.


